Blog
Ammonite Collecting
Views: 2
Step 1
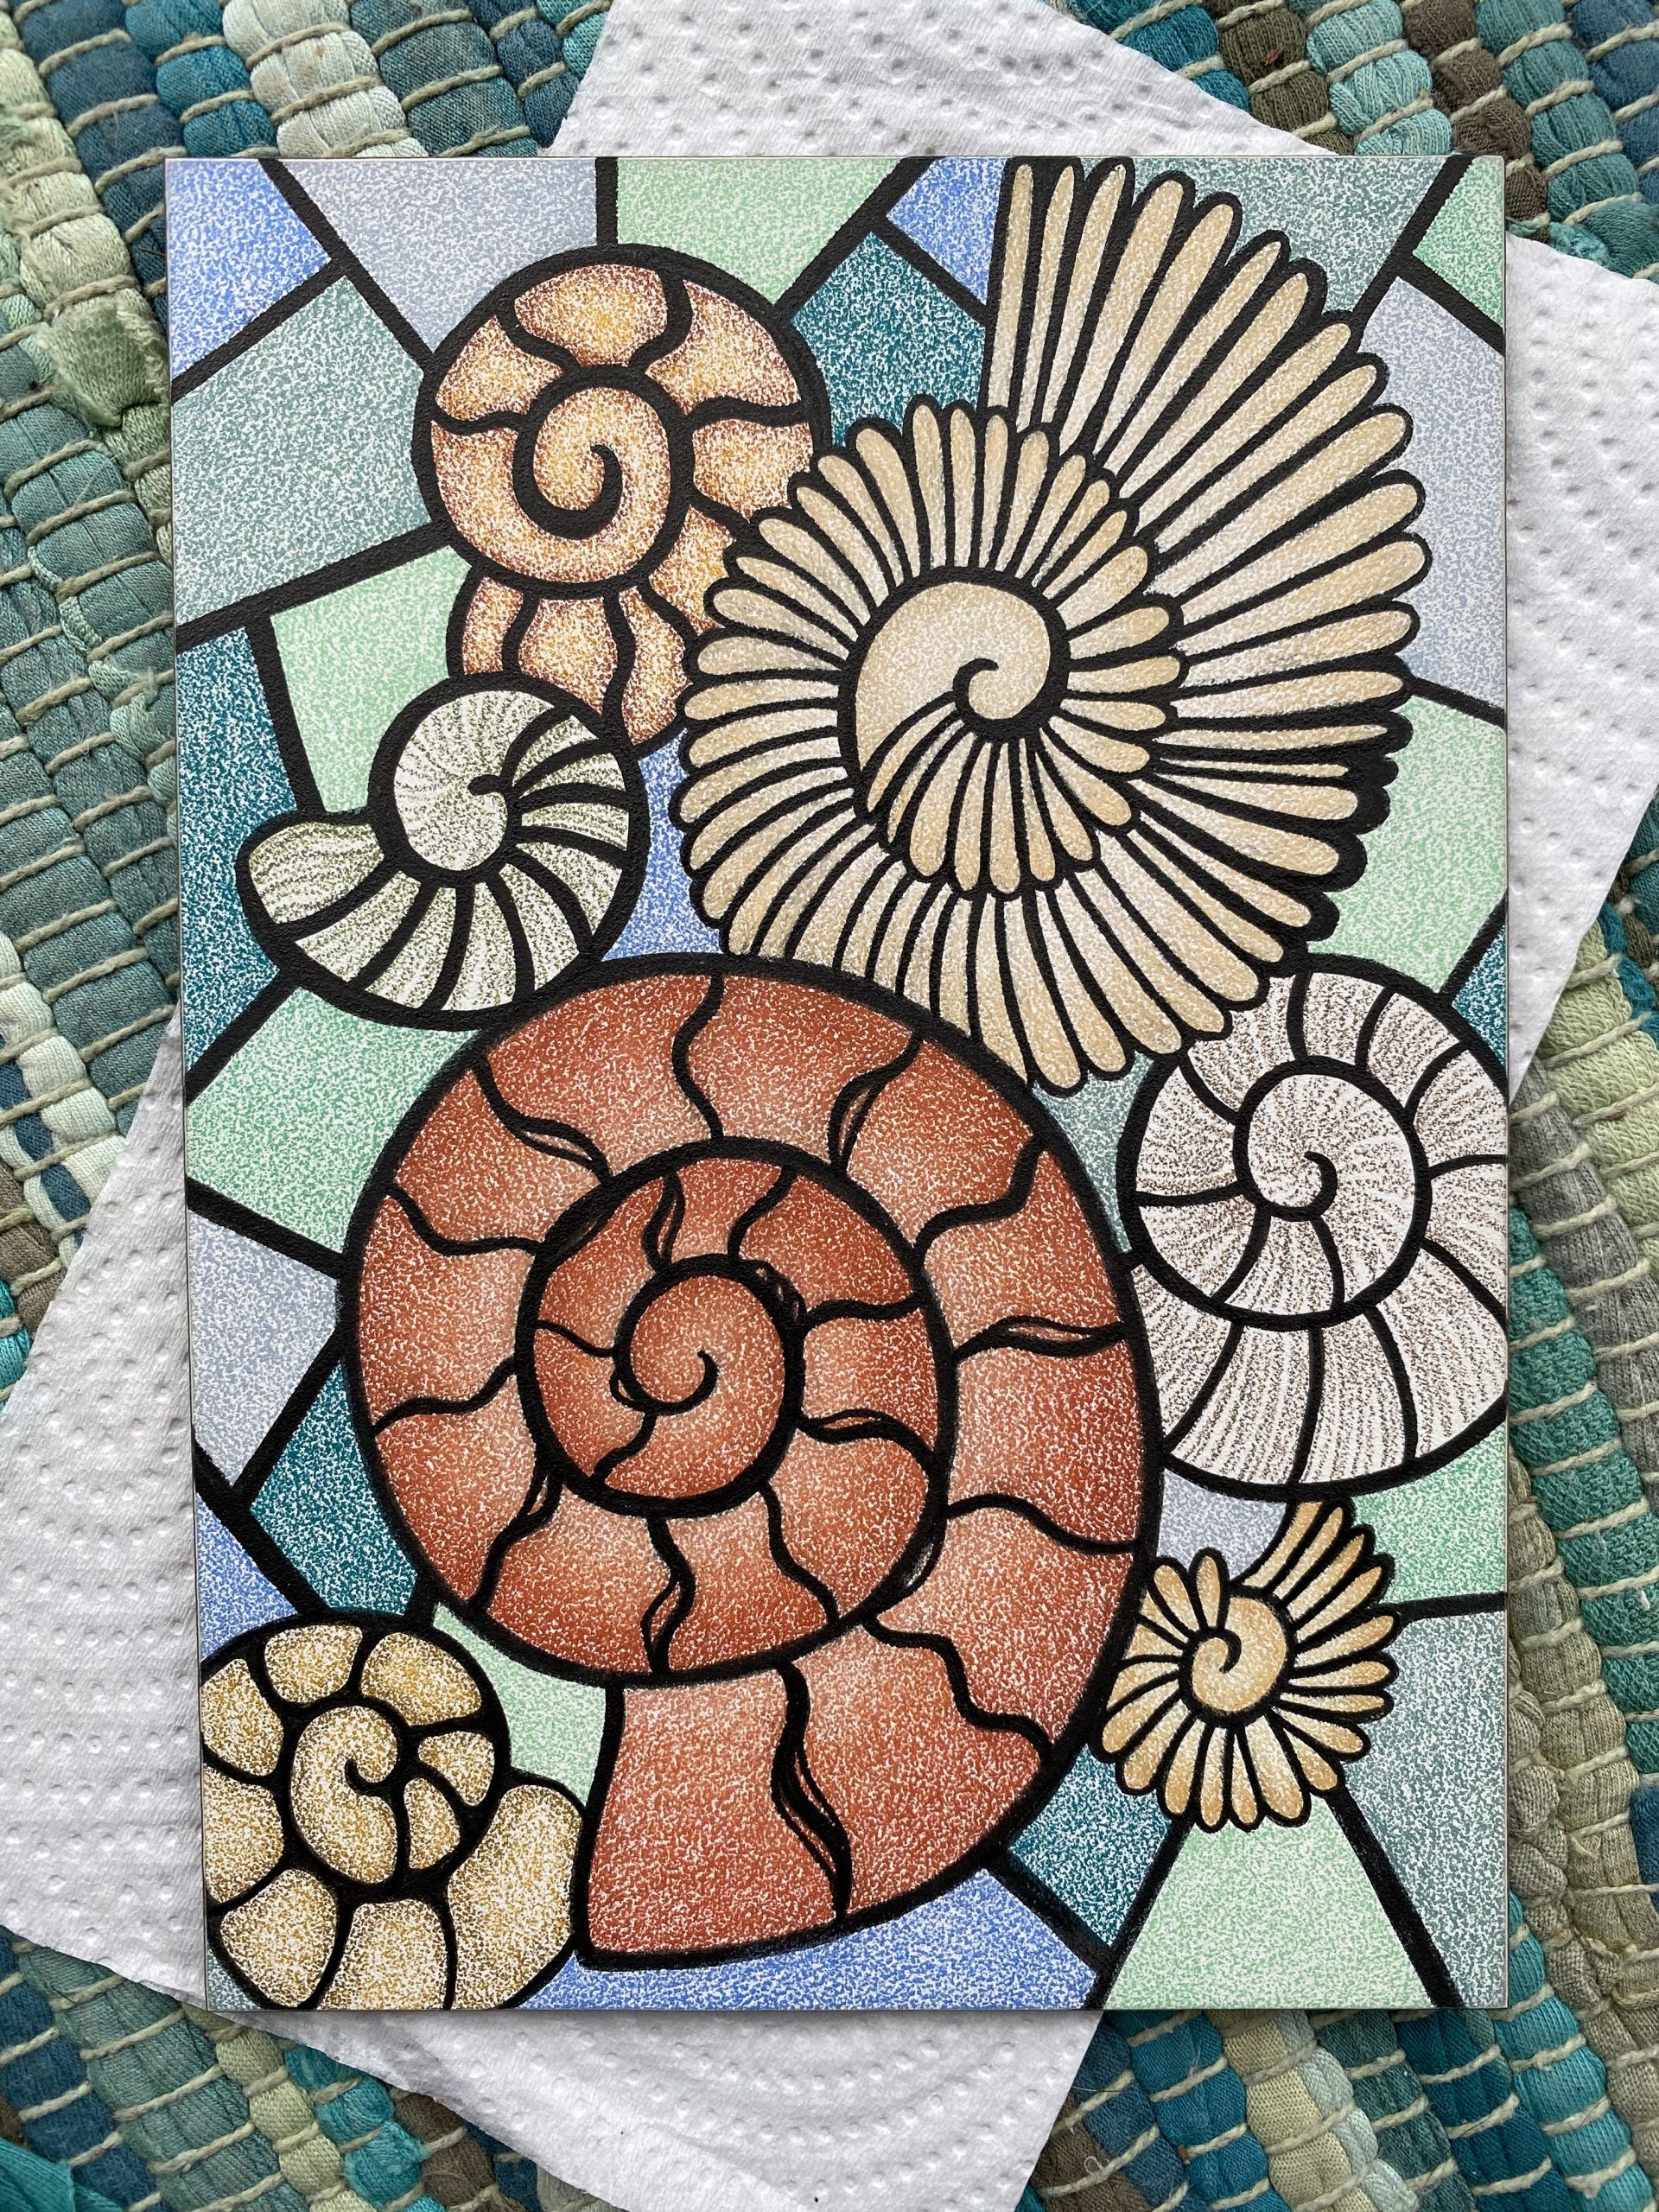
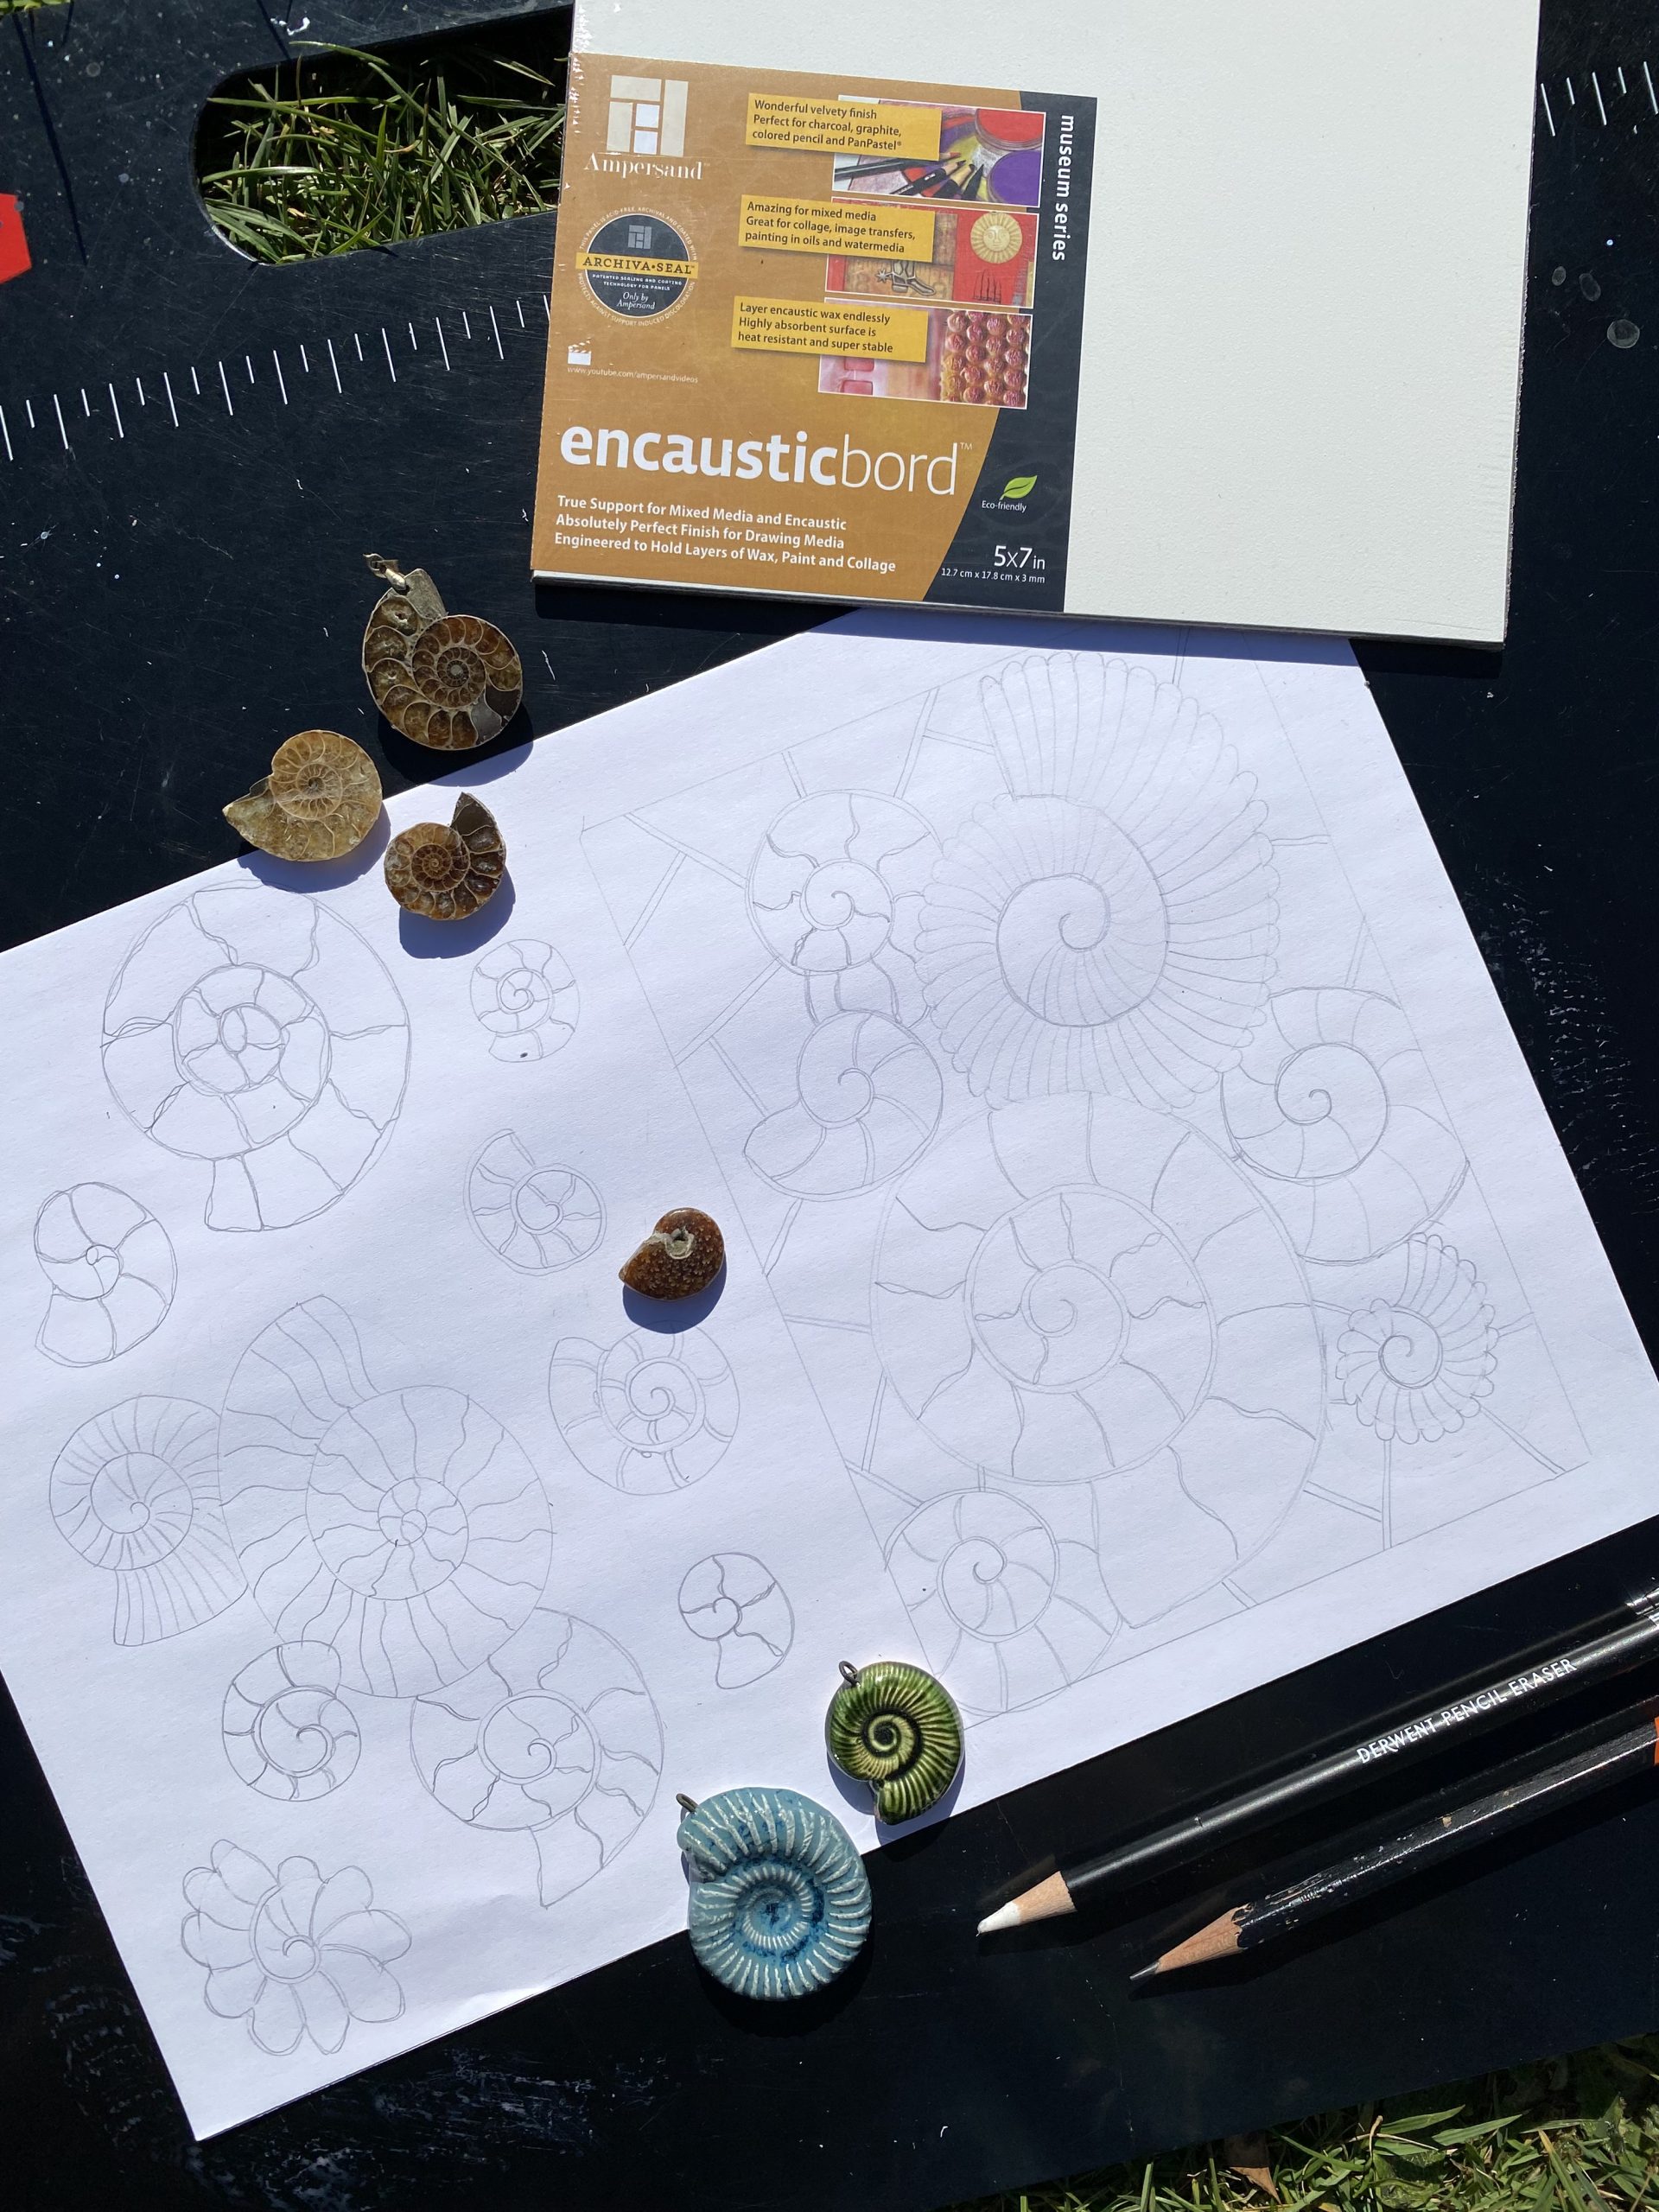
I need to tell you about my latest project involving spirals in the form of ammonites. If you’ve been on this wild ride with me a while, you’ll know I have a passion for spirals and I adore ammonites. Henceforth came the idea to do a stained glass inspired ammonite type artwork on Ampersand Encausticbord. So I am going to take you through step-by-step blog style (like I’ve done before), how this piece was created.
So first up, the doodling of the idea. Turns out that there are aesthetic looking ammonites and then there are not, depending on how well the spiral, spirals. It’s all about aesthetic proportions and that needed some practise and quite a bit of it! After a whole load of sussing things out, a composition must be composed that gives balance and interesting appeal.
Step 2
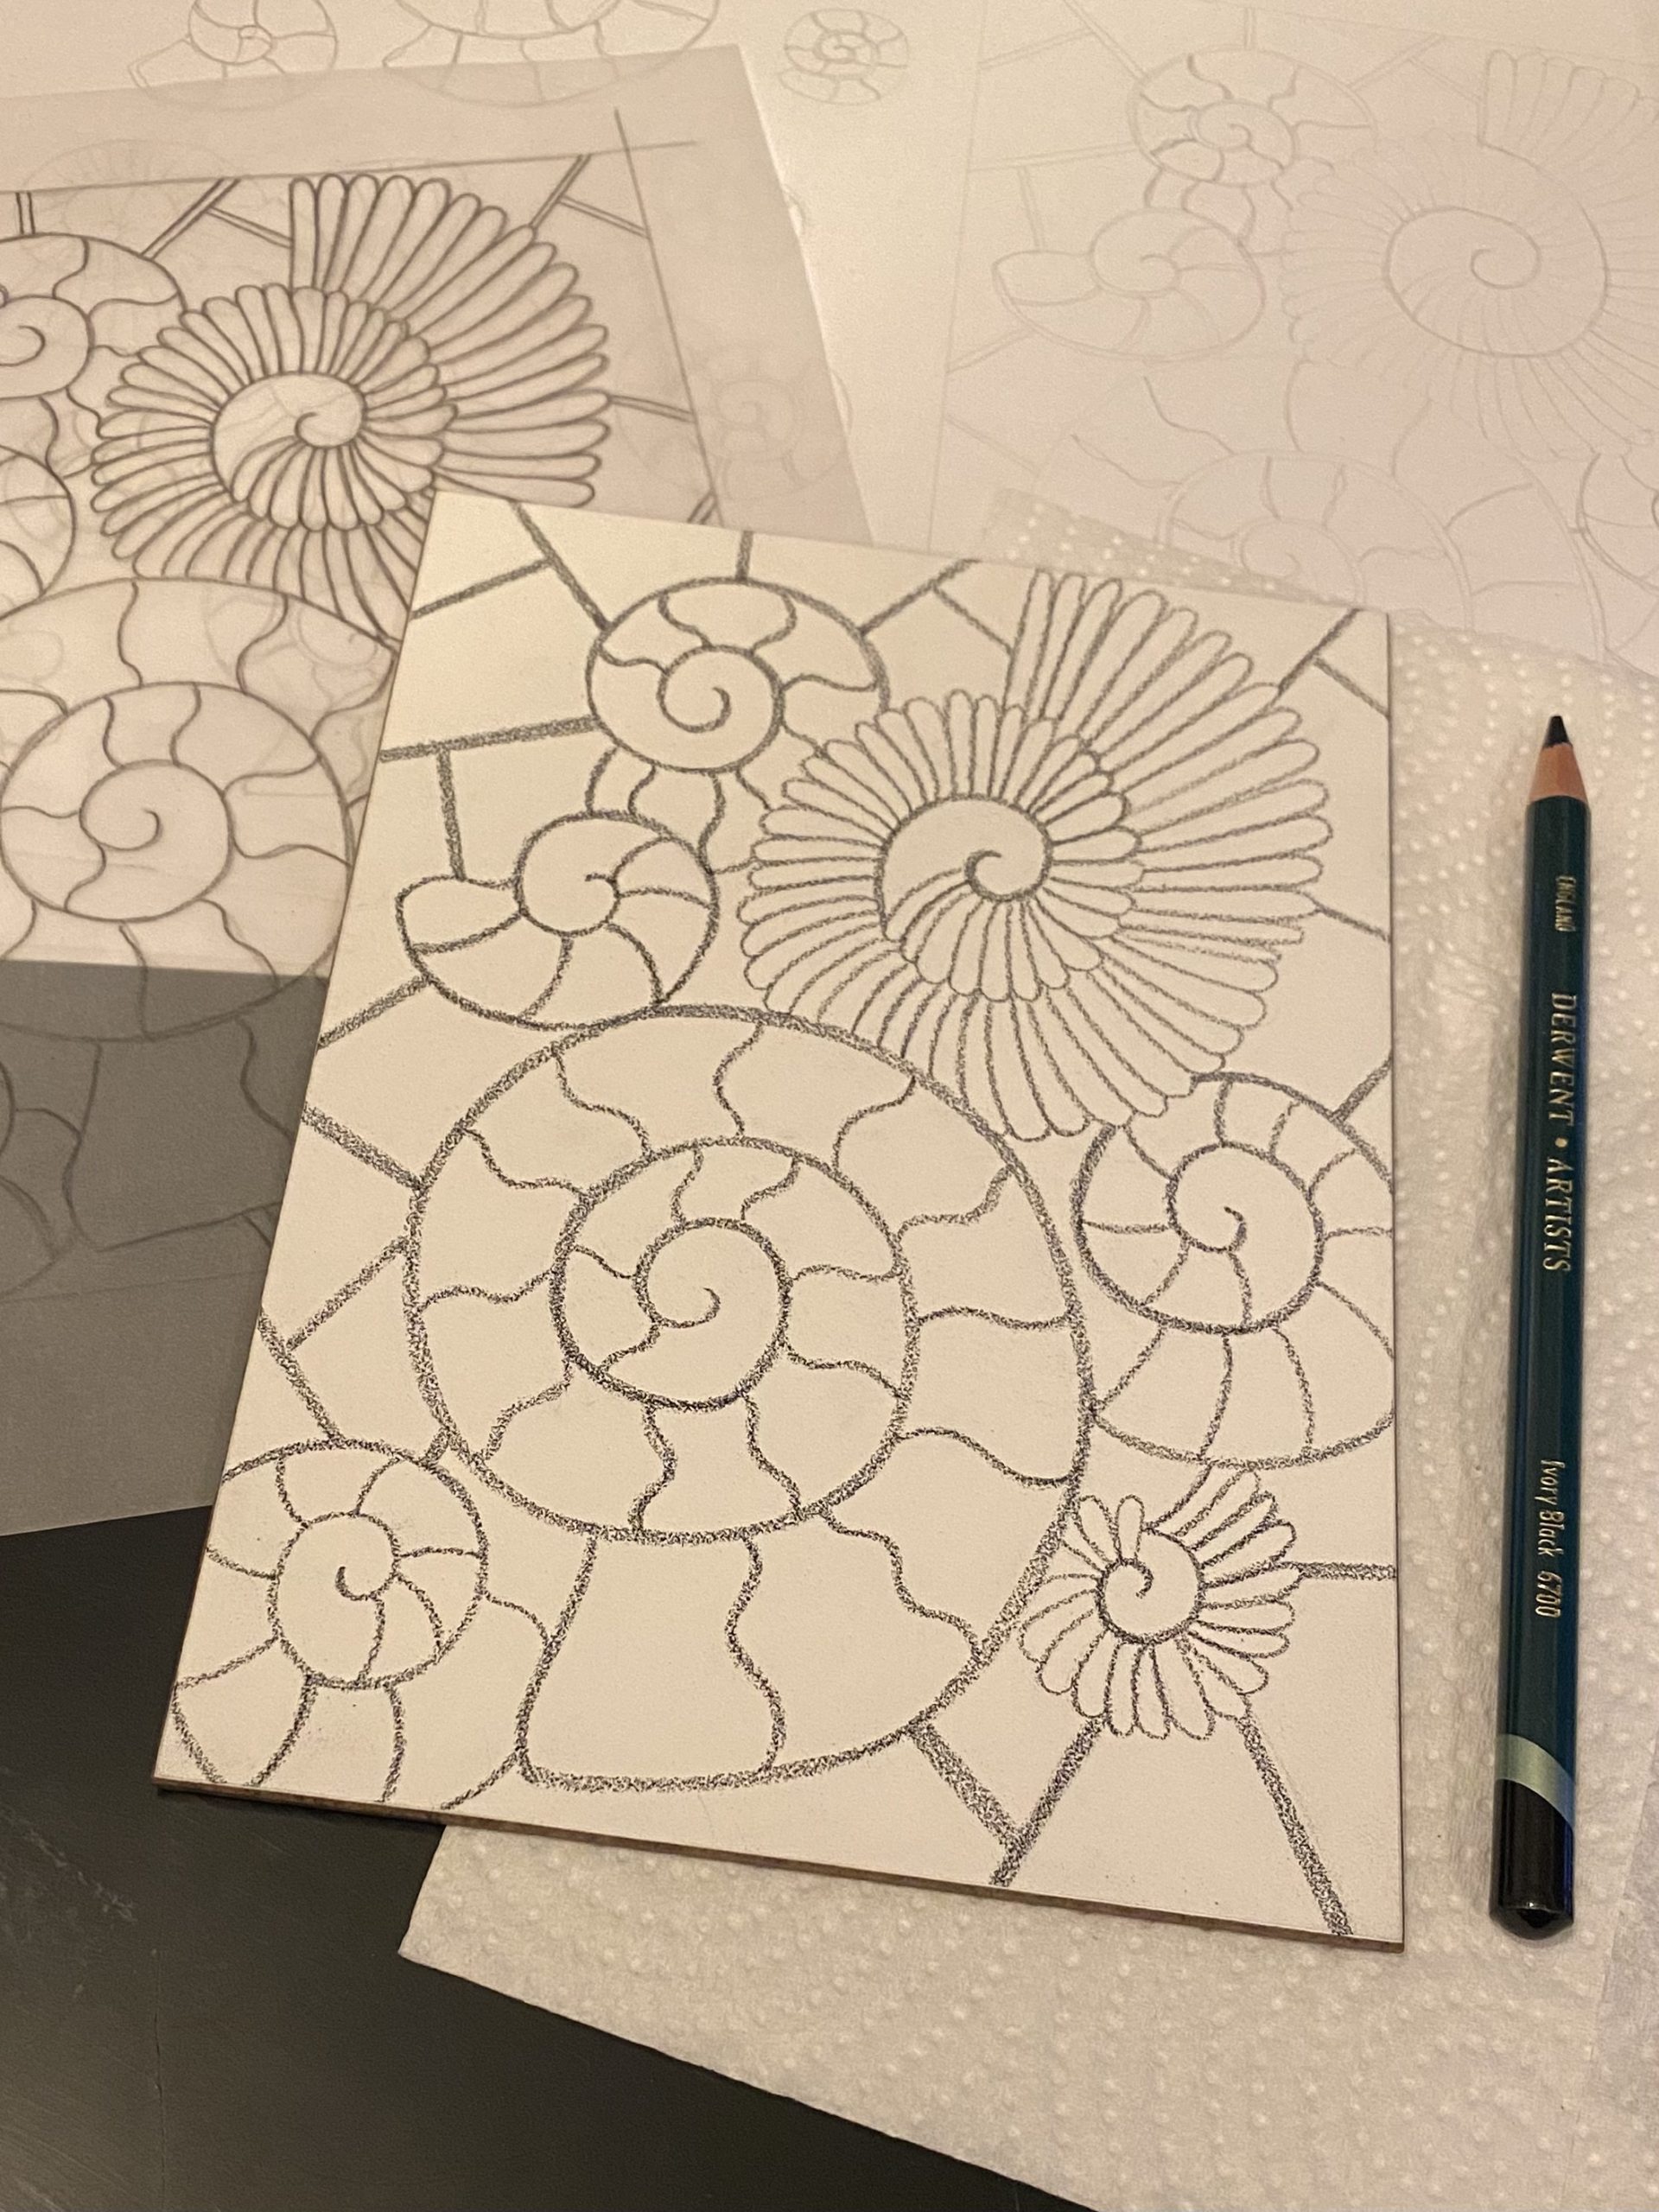
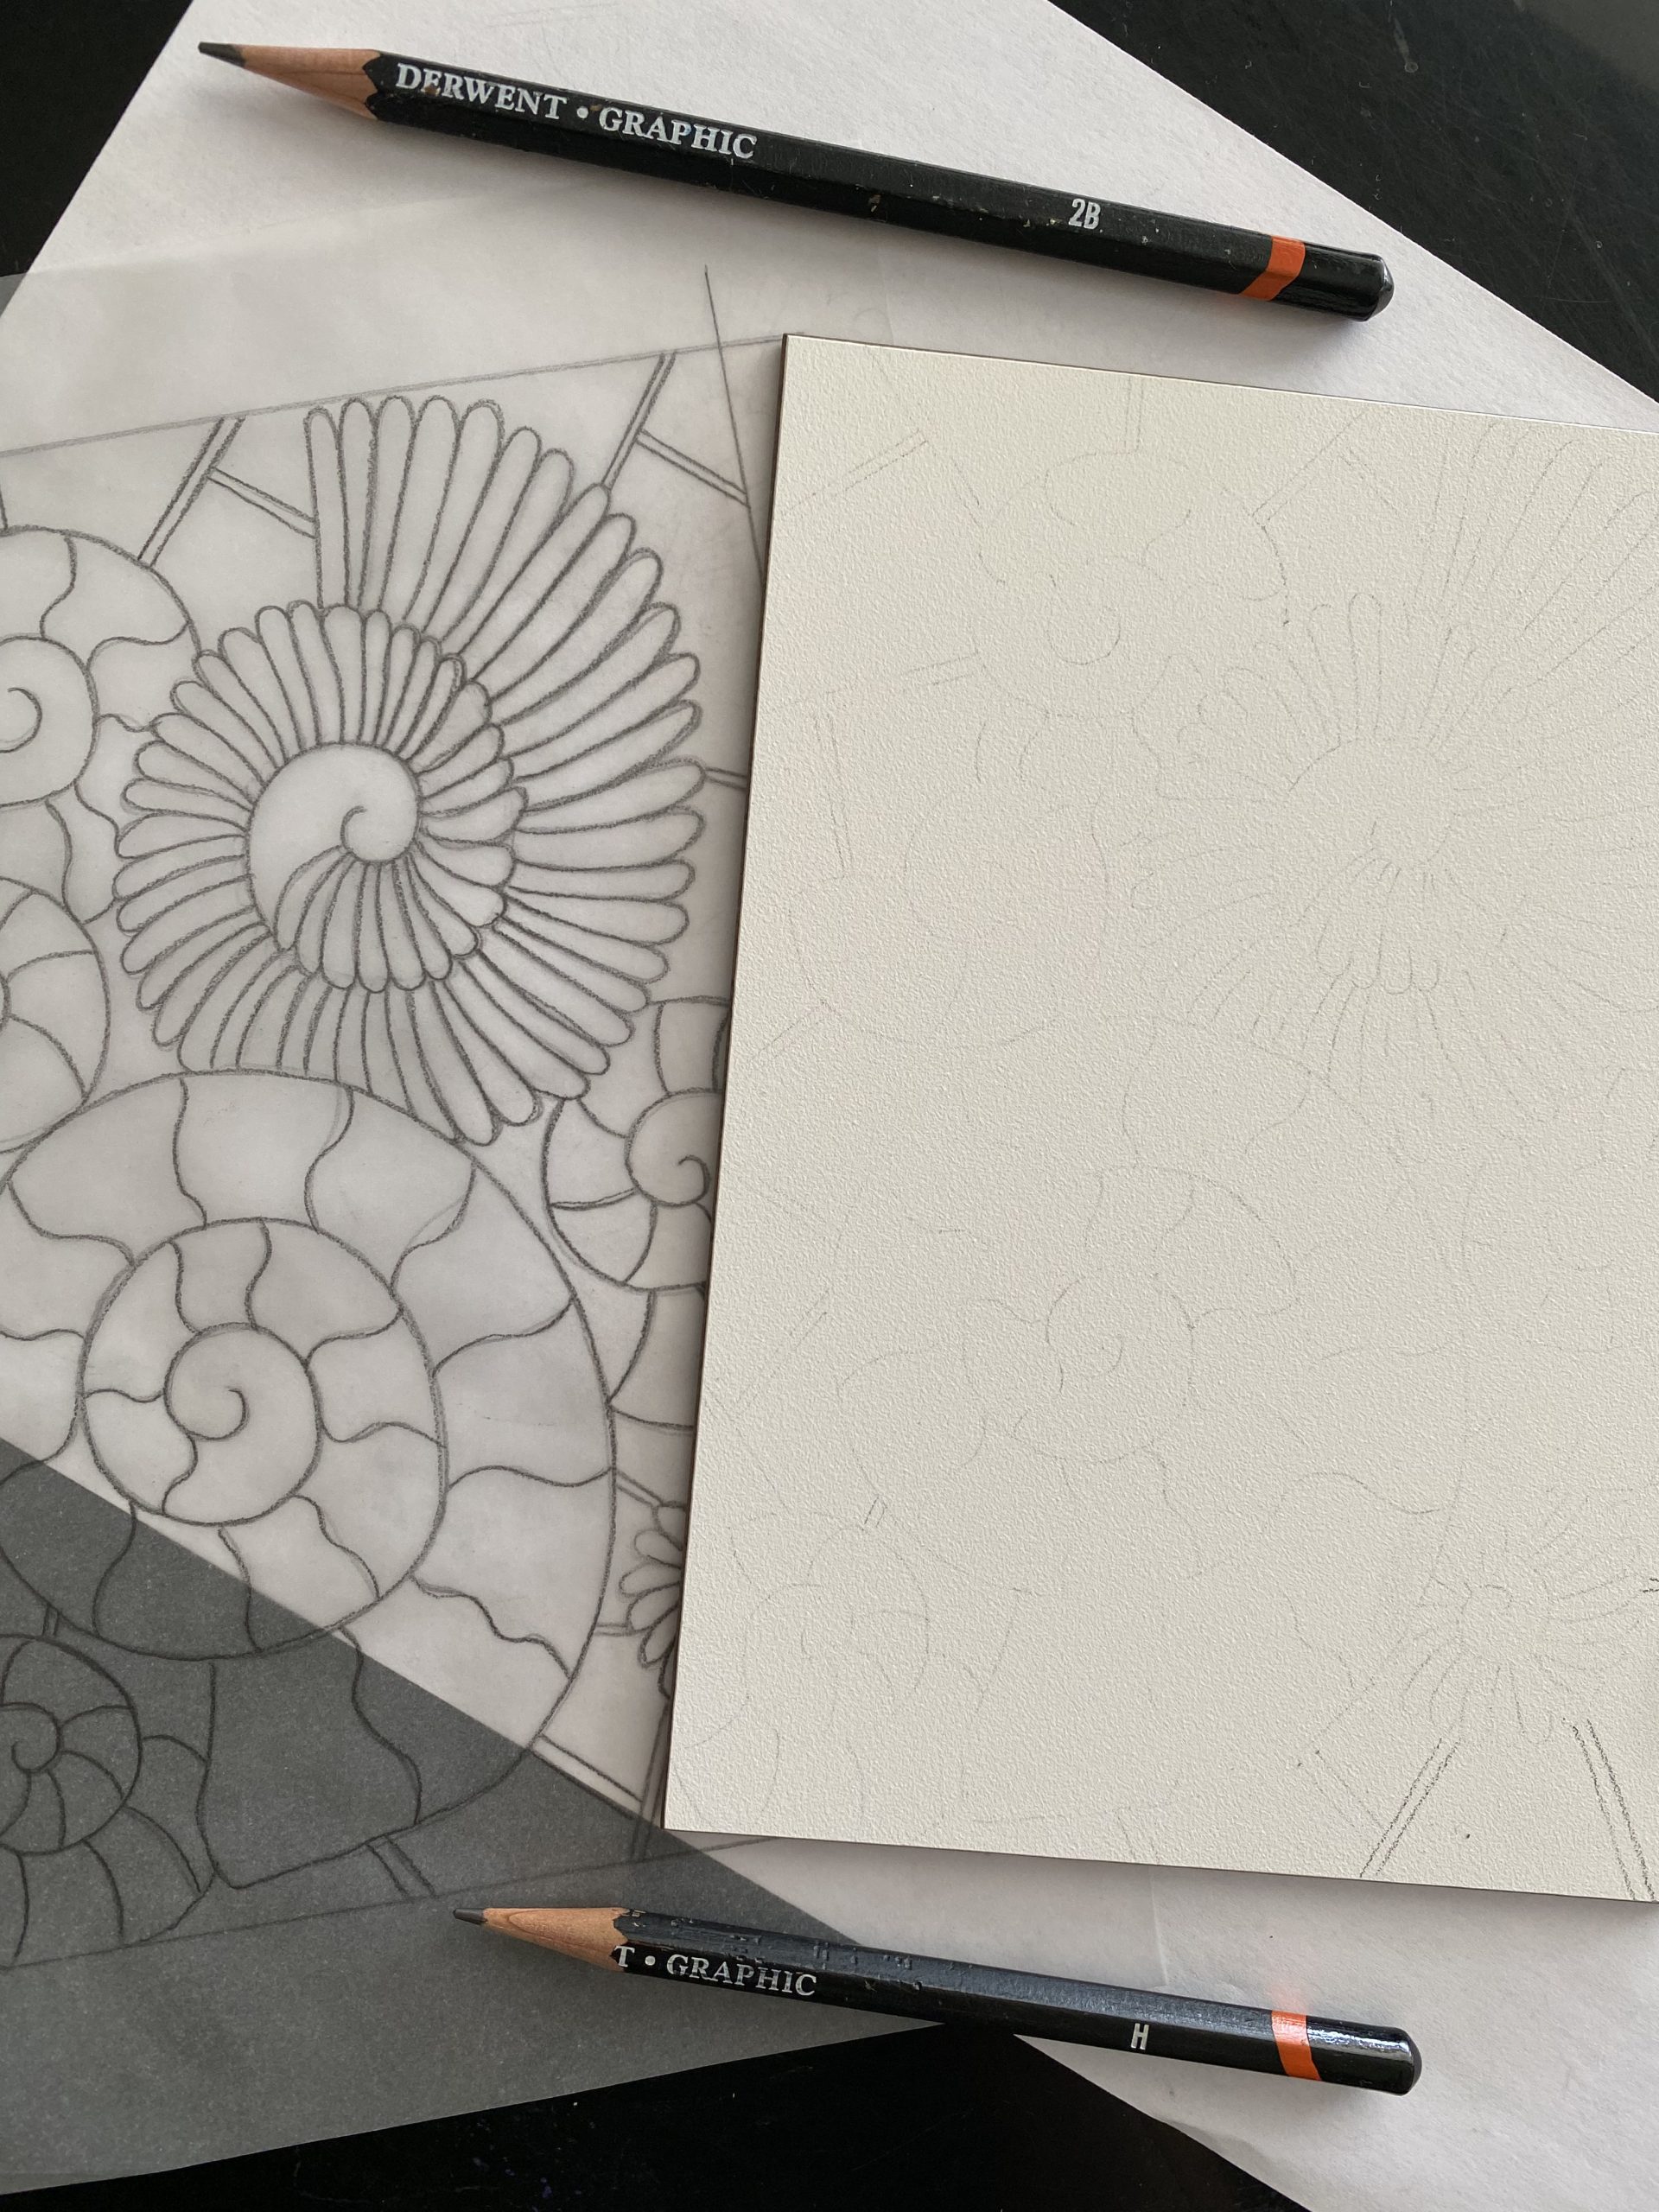
Once I had the composition, I needed to get it onto my Ampersand Encausticbord. I decided to do this by tracing my design, tracing over the reverse of the tracing with graphite, then drawing over the tracing again onto the bord, to obtain a light impression of my design. I was trying to get minimal graphite onto the bord, to try and reduce muddying my colours later.
Step 3
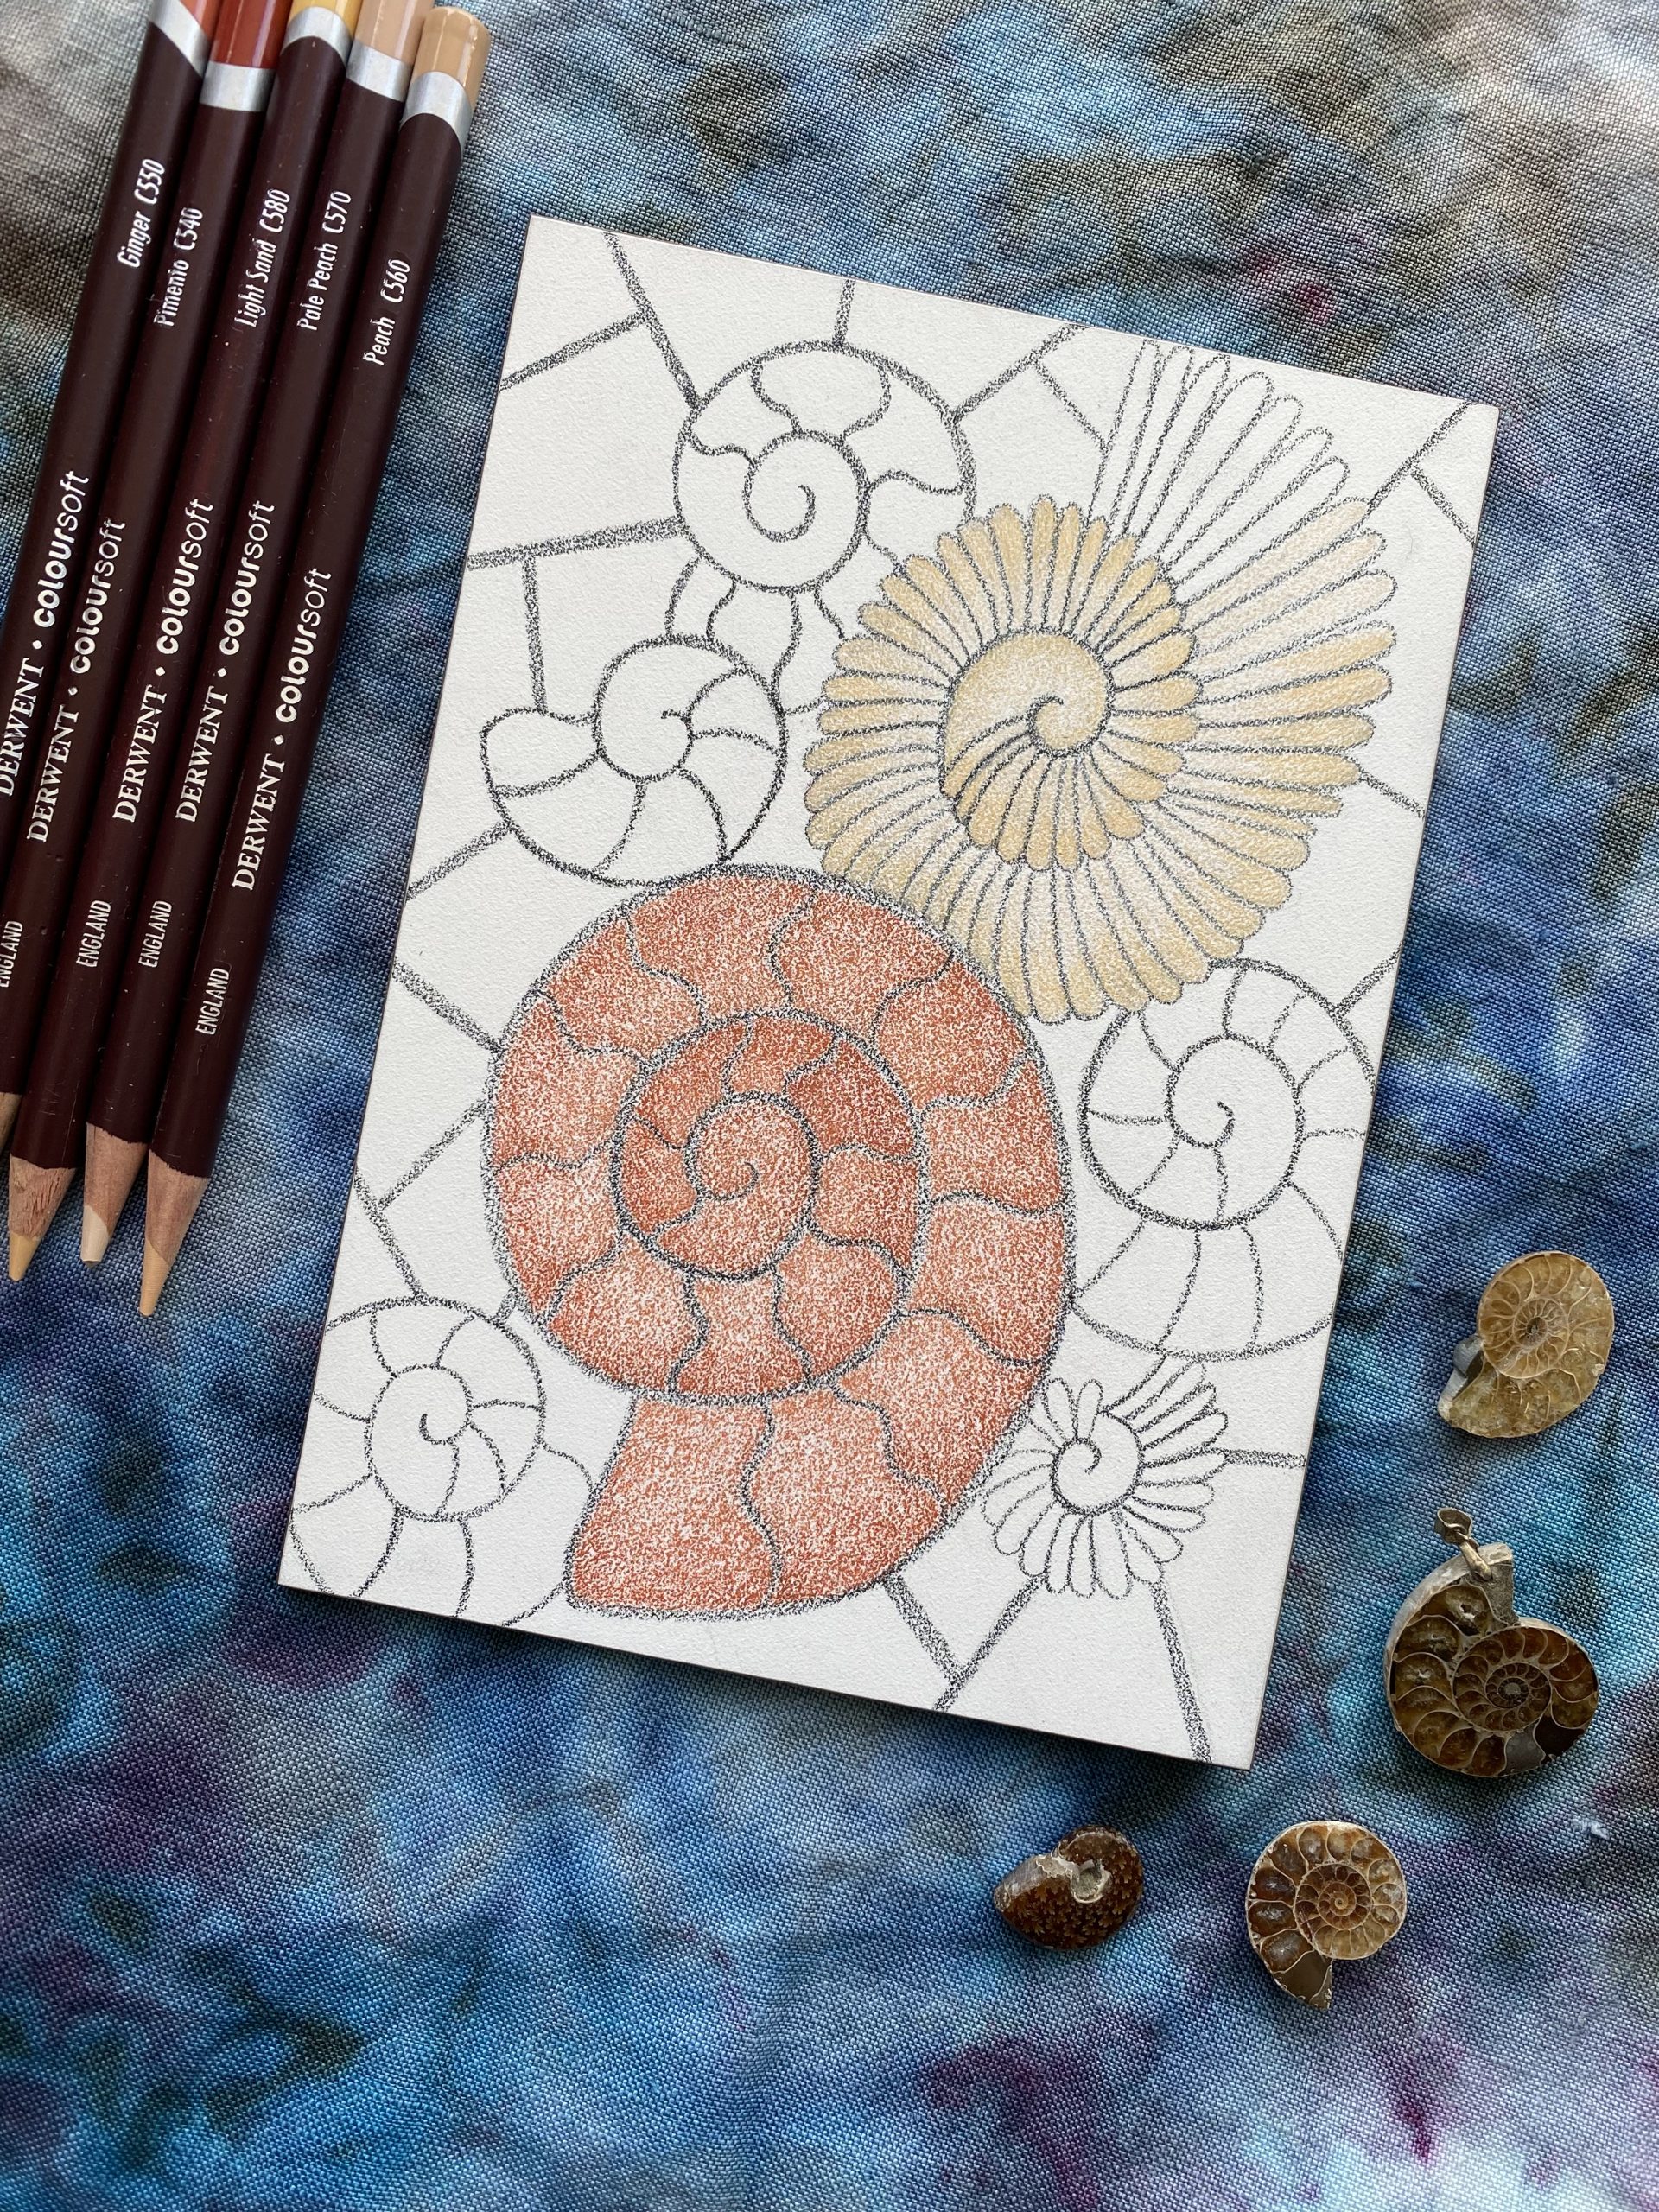
I decided to add the ‘leading’ first which isn’t my usual way around but I wanted to highlight all the shapes so it was easier going forward. I used a Derwent Artist Pencil in Ivory Black.
Step 4
The beginning of the colourwork in Derwent Coloursoft Pencils. In these two ammonites, creating ombré effects in each segment.
Step 5
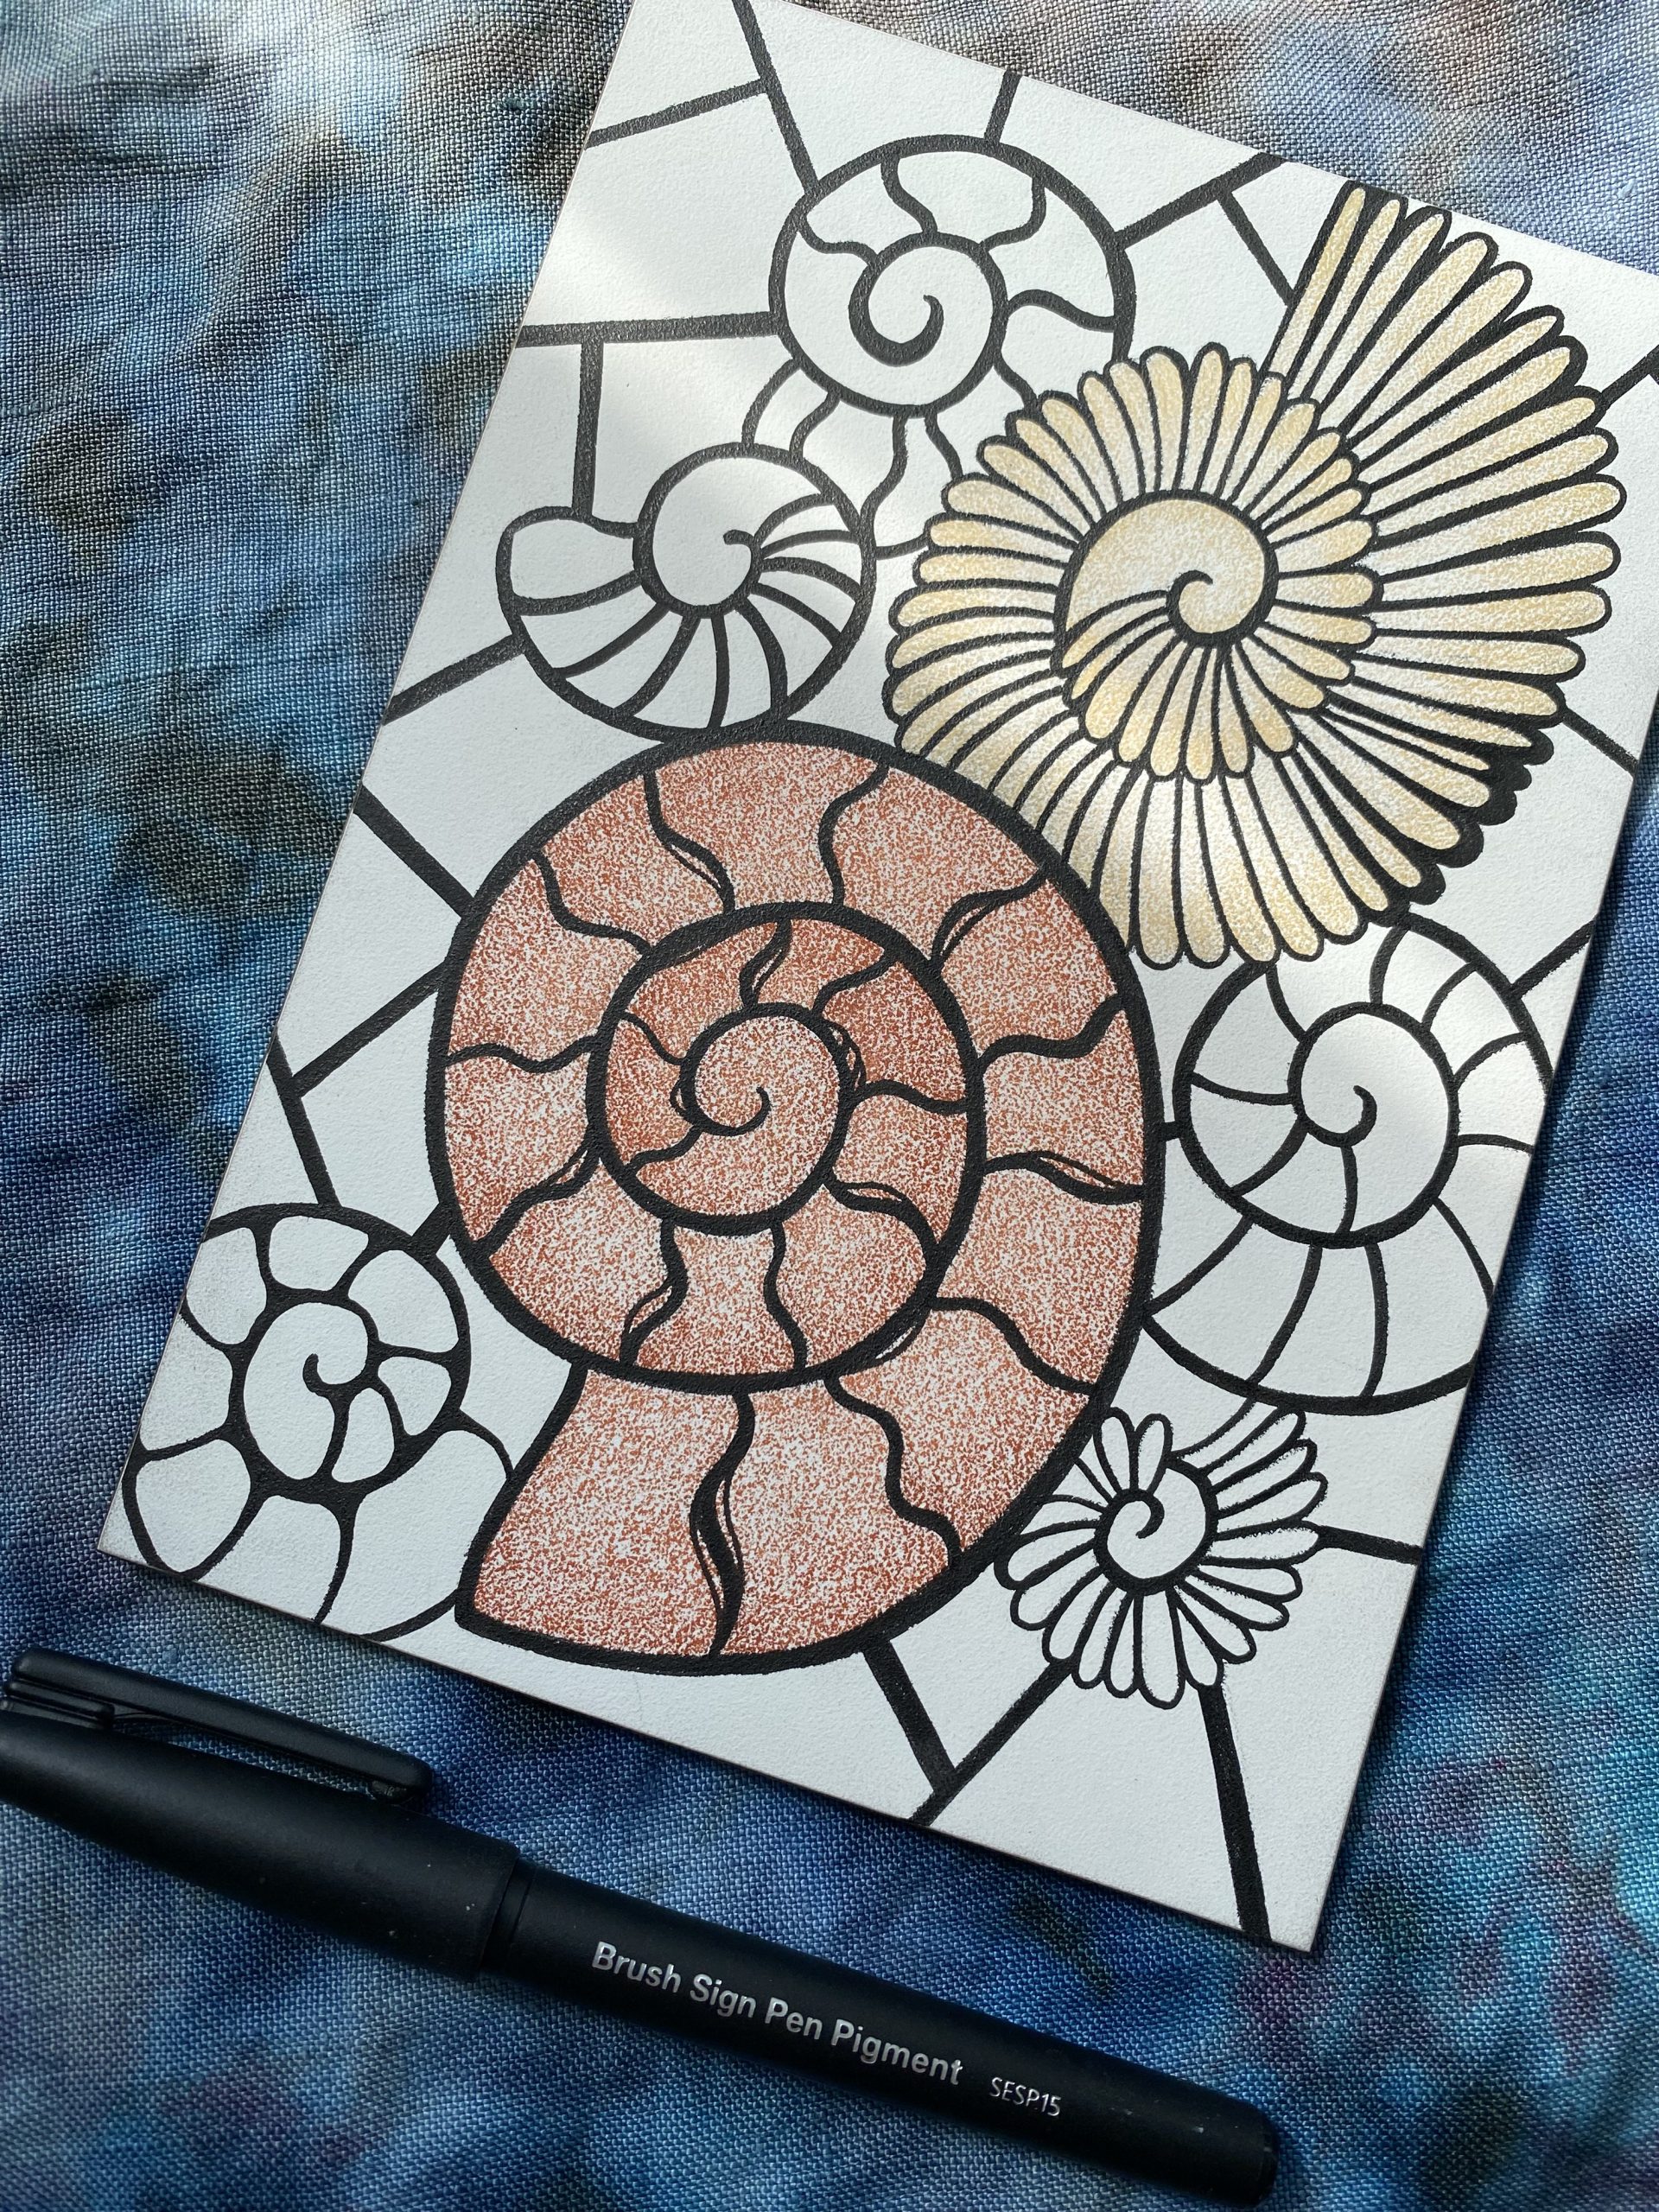
There was something really grating me about how the ‘leading’ wasn’t really solid and a strong black. I know with the colour pencils what I was after is hard to achieve, so I tried out my Pentel Brush Sign Pen and it was just the ticket! I wanted to show a picture part way through so you could see the difference. I also really enjoy doing pen work so this is a really fun part of the process for me.
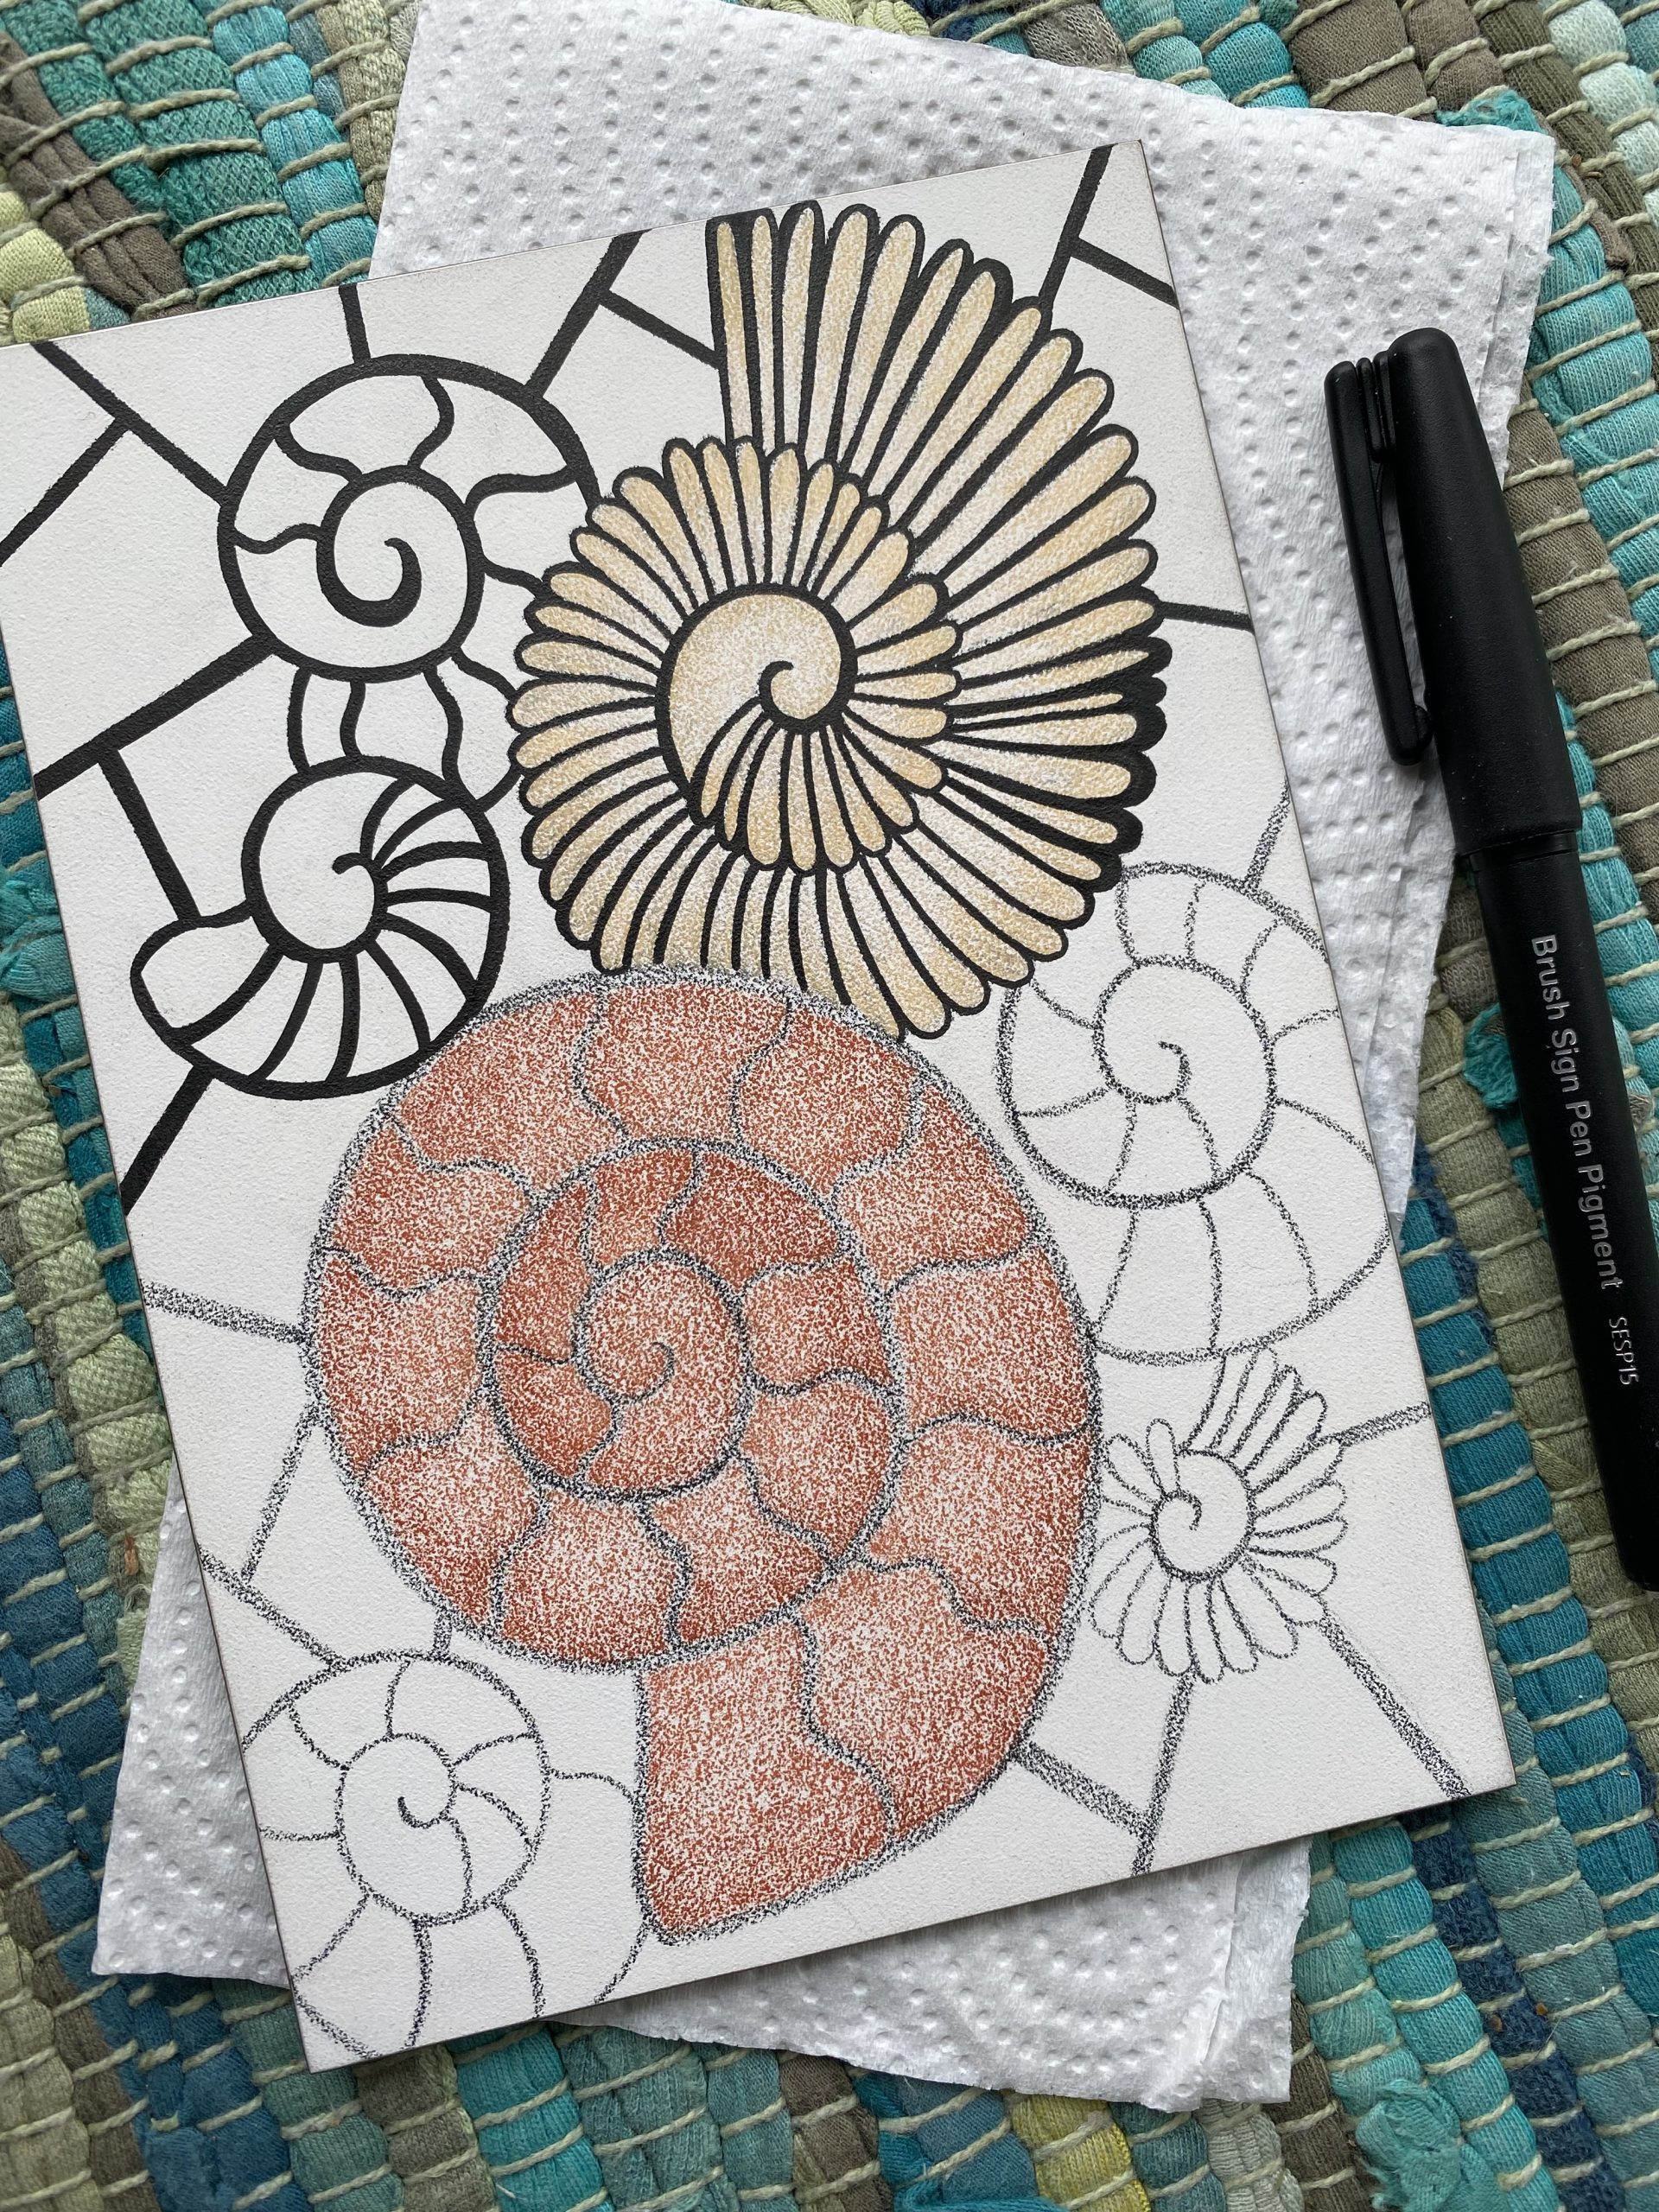
Here is all the pen work completed.
Step 6
Finishing the colour work base layers on the two ammonites I started before deciding to change the ‘leading’. Ombré effects for these two ammonites. One of my favourite effects to do.
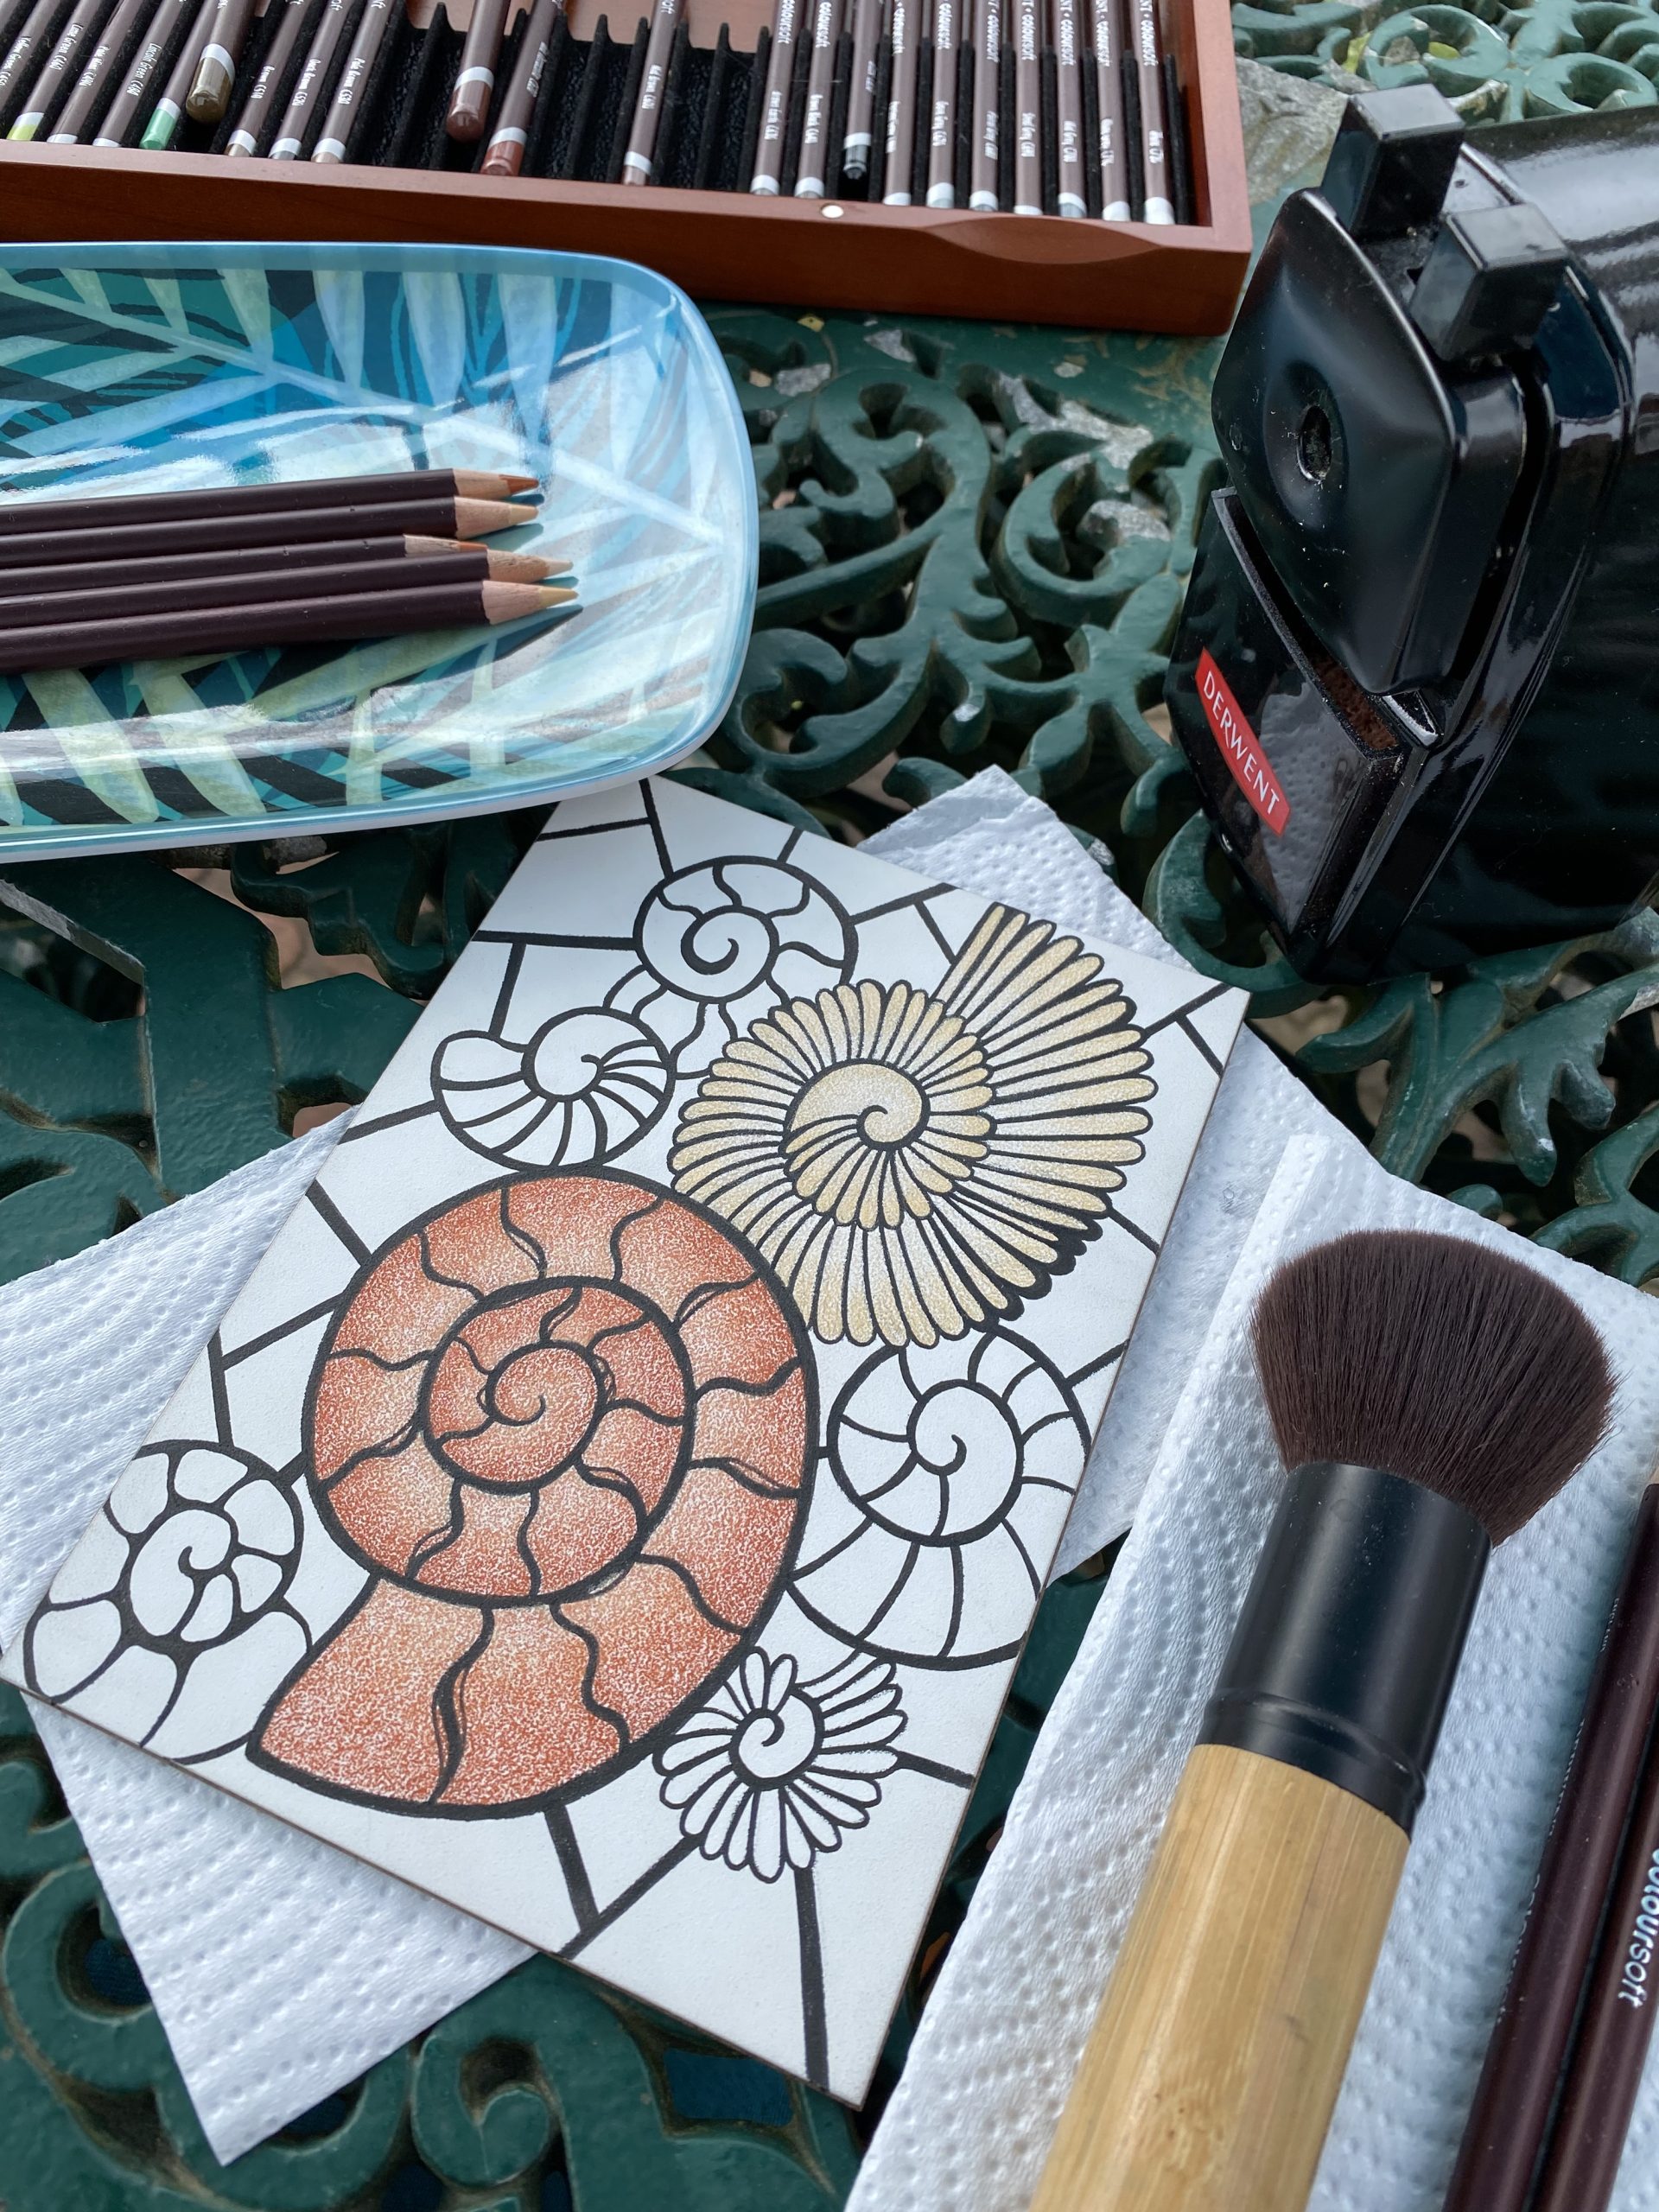
Step 7
Adding in detail on the other ammonites now, using different textures with dappling and striations to add interest.
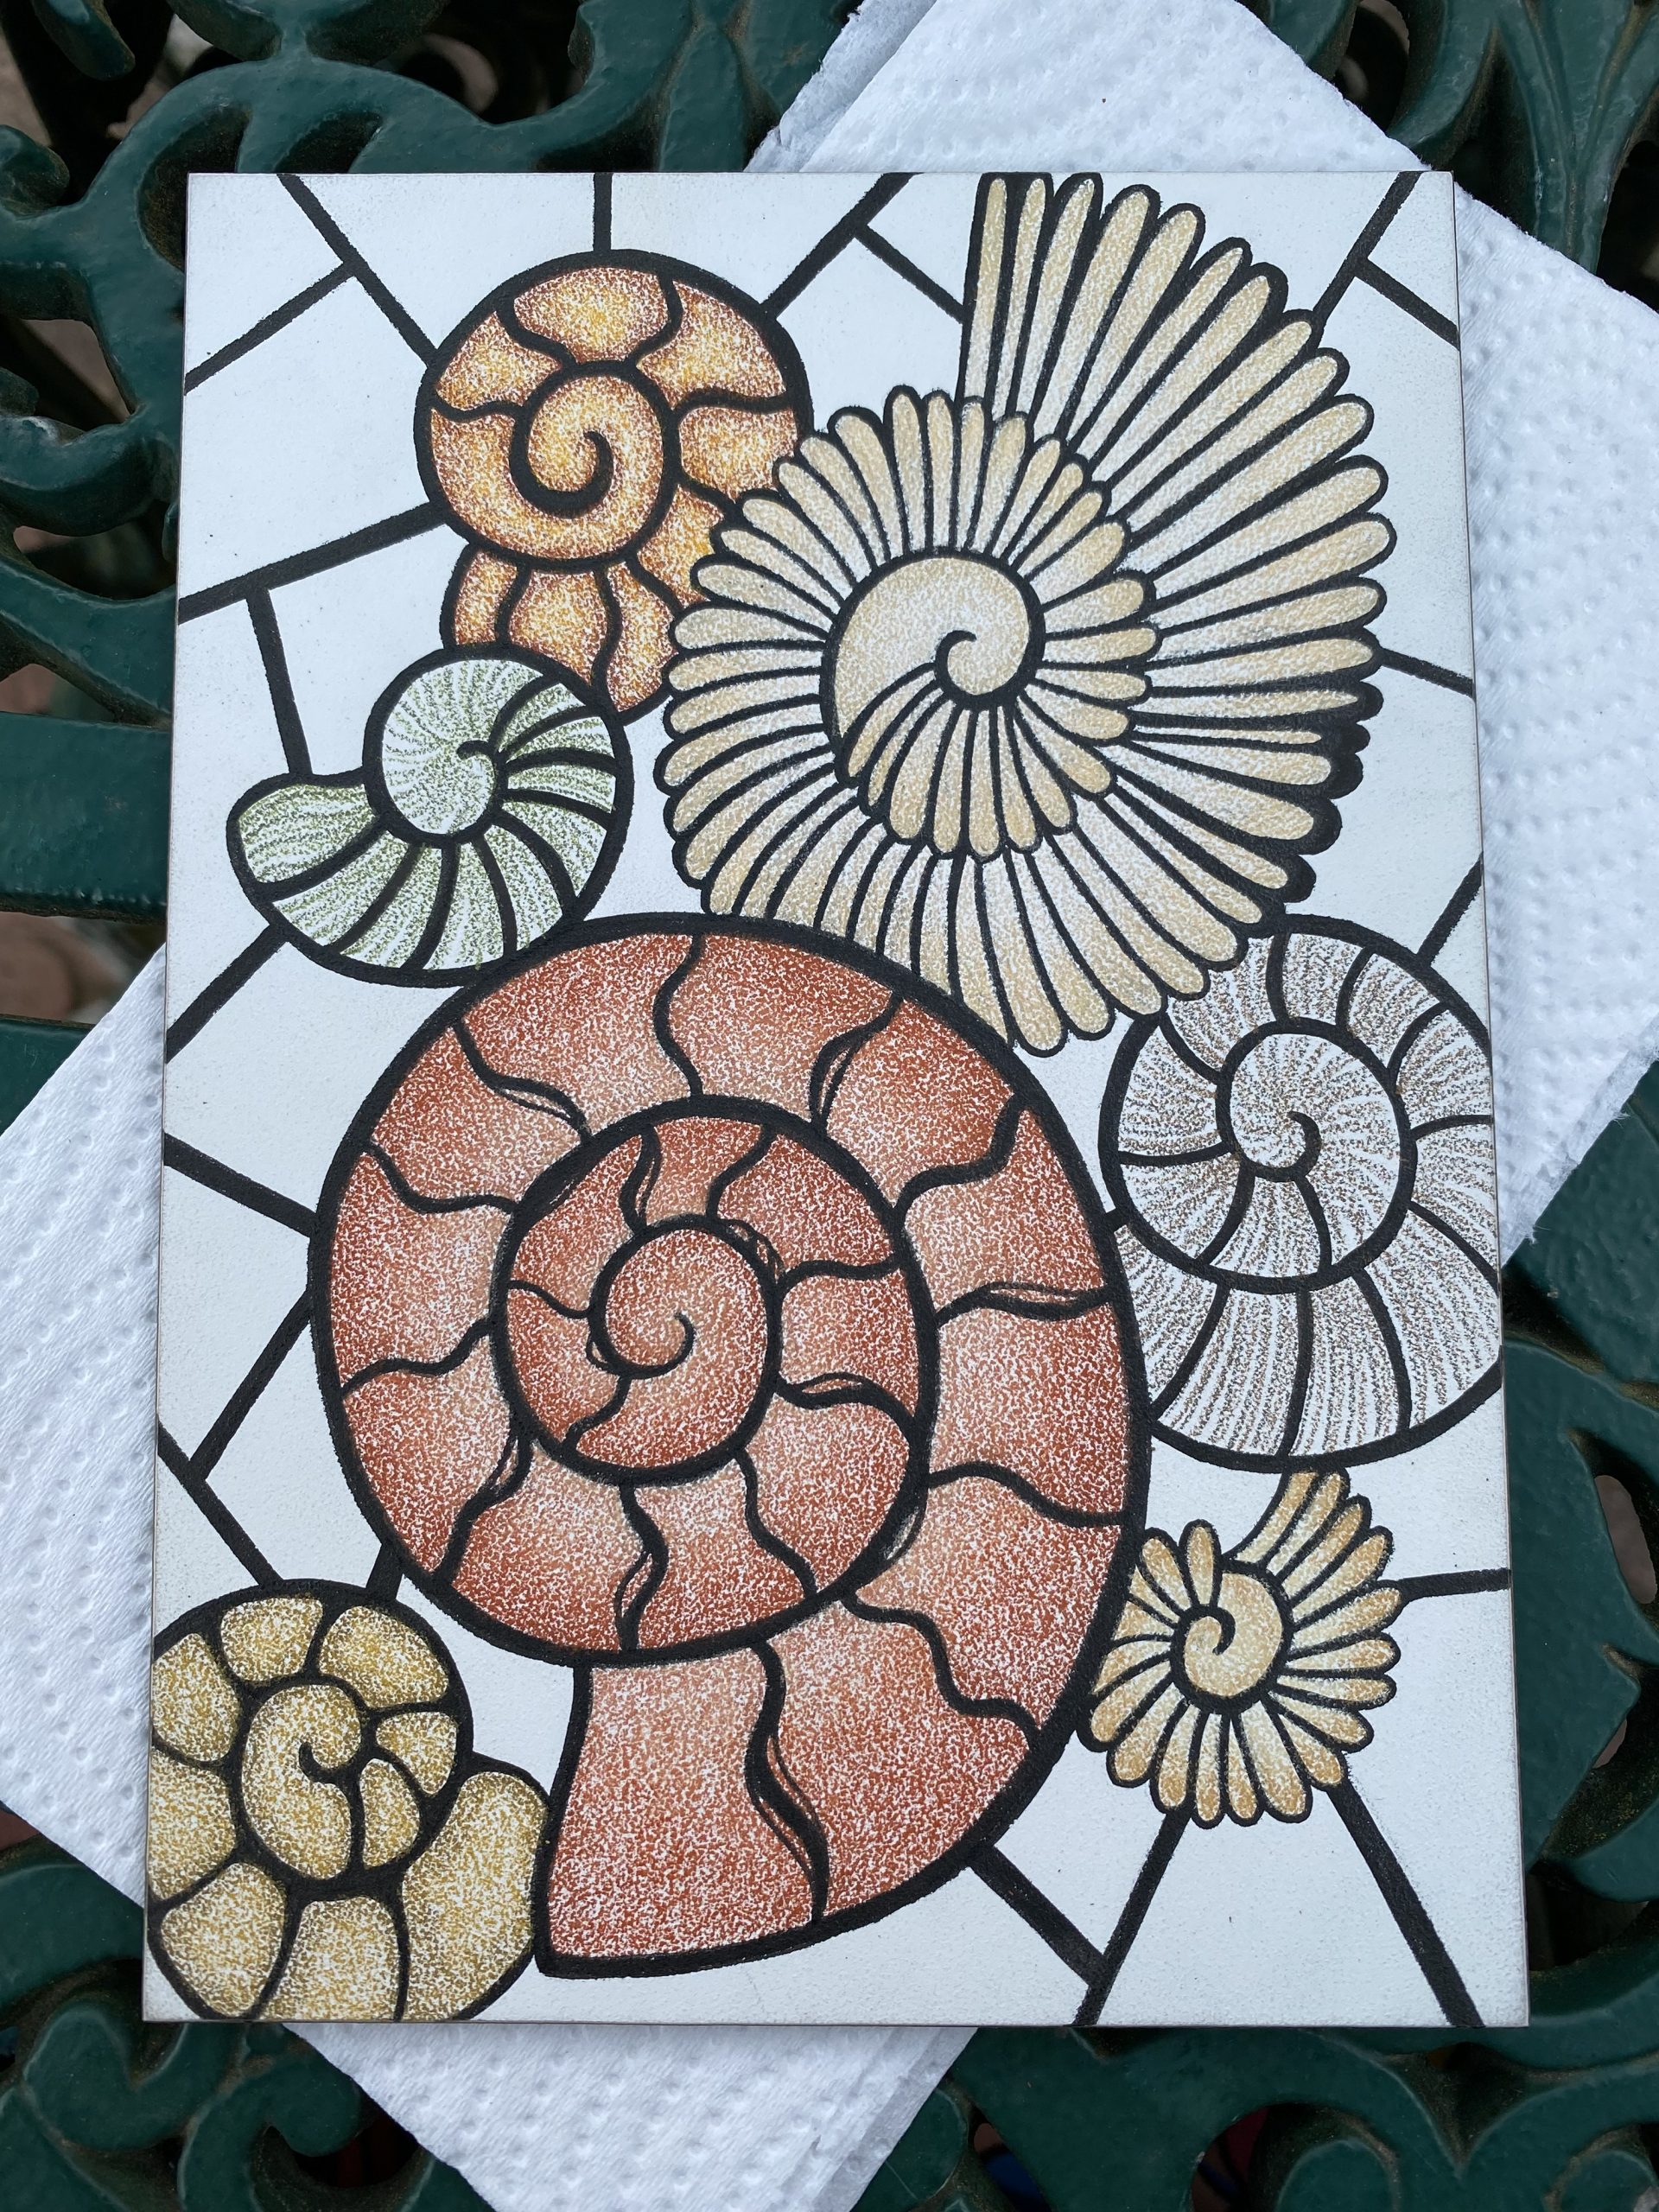
Step 8
Onto the background ‘glass’ using contrasting colours to the ammonites to try and make them pop.
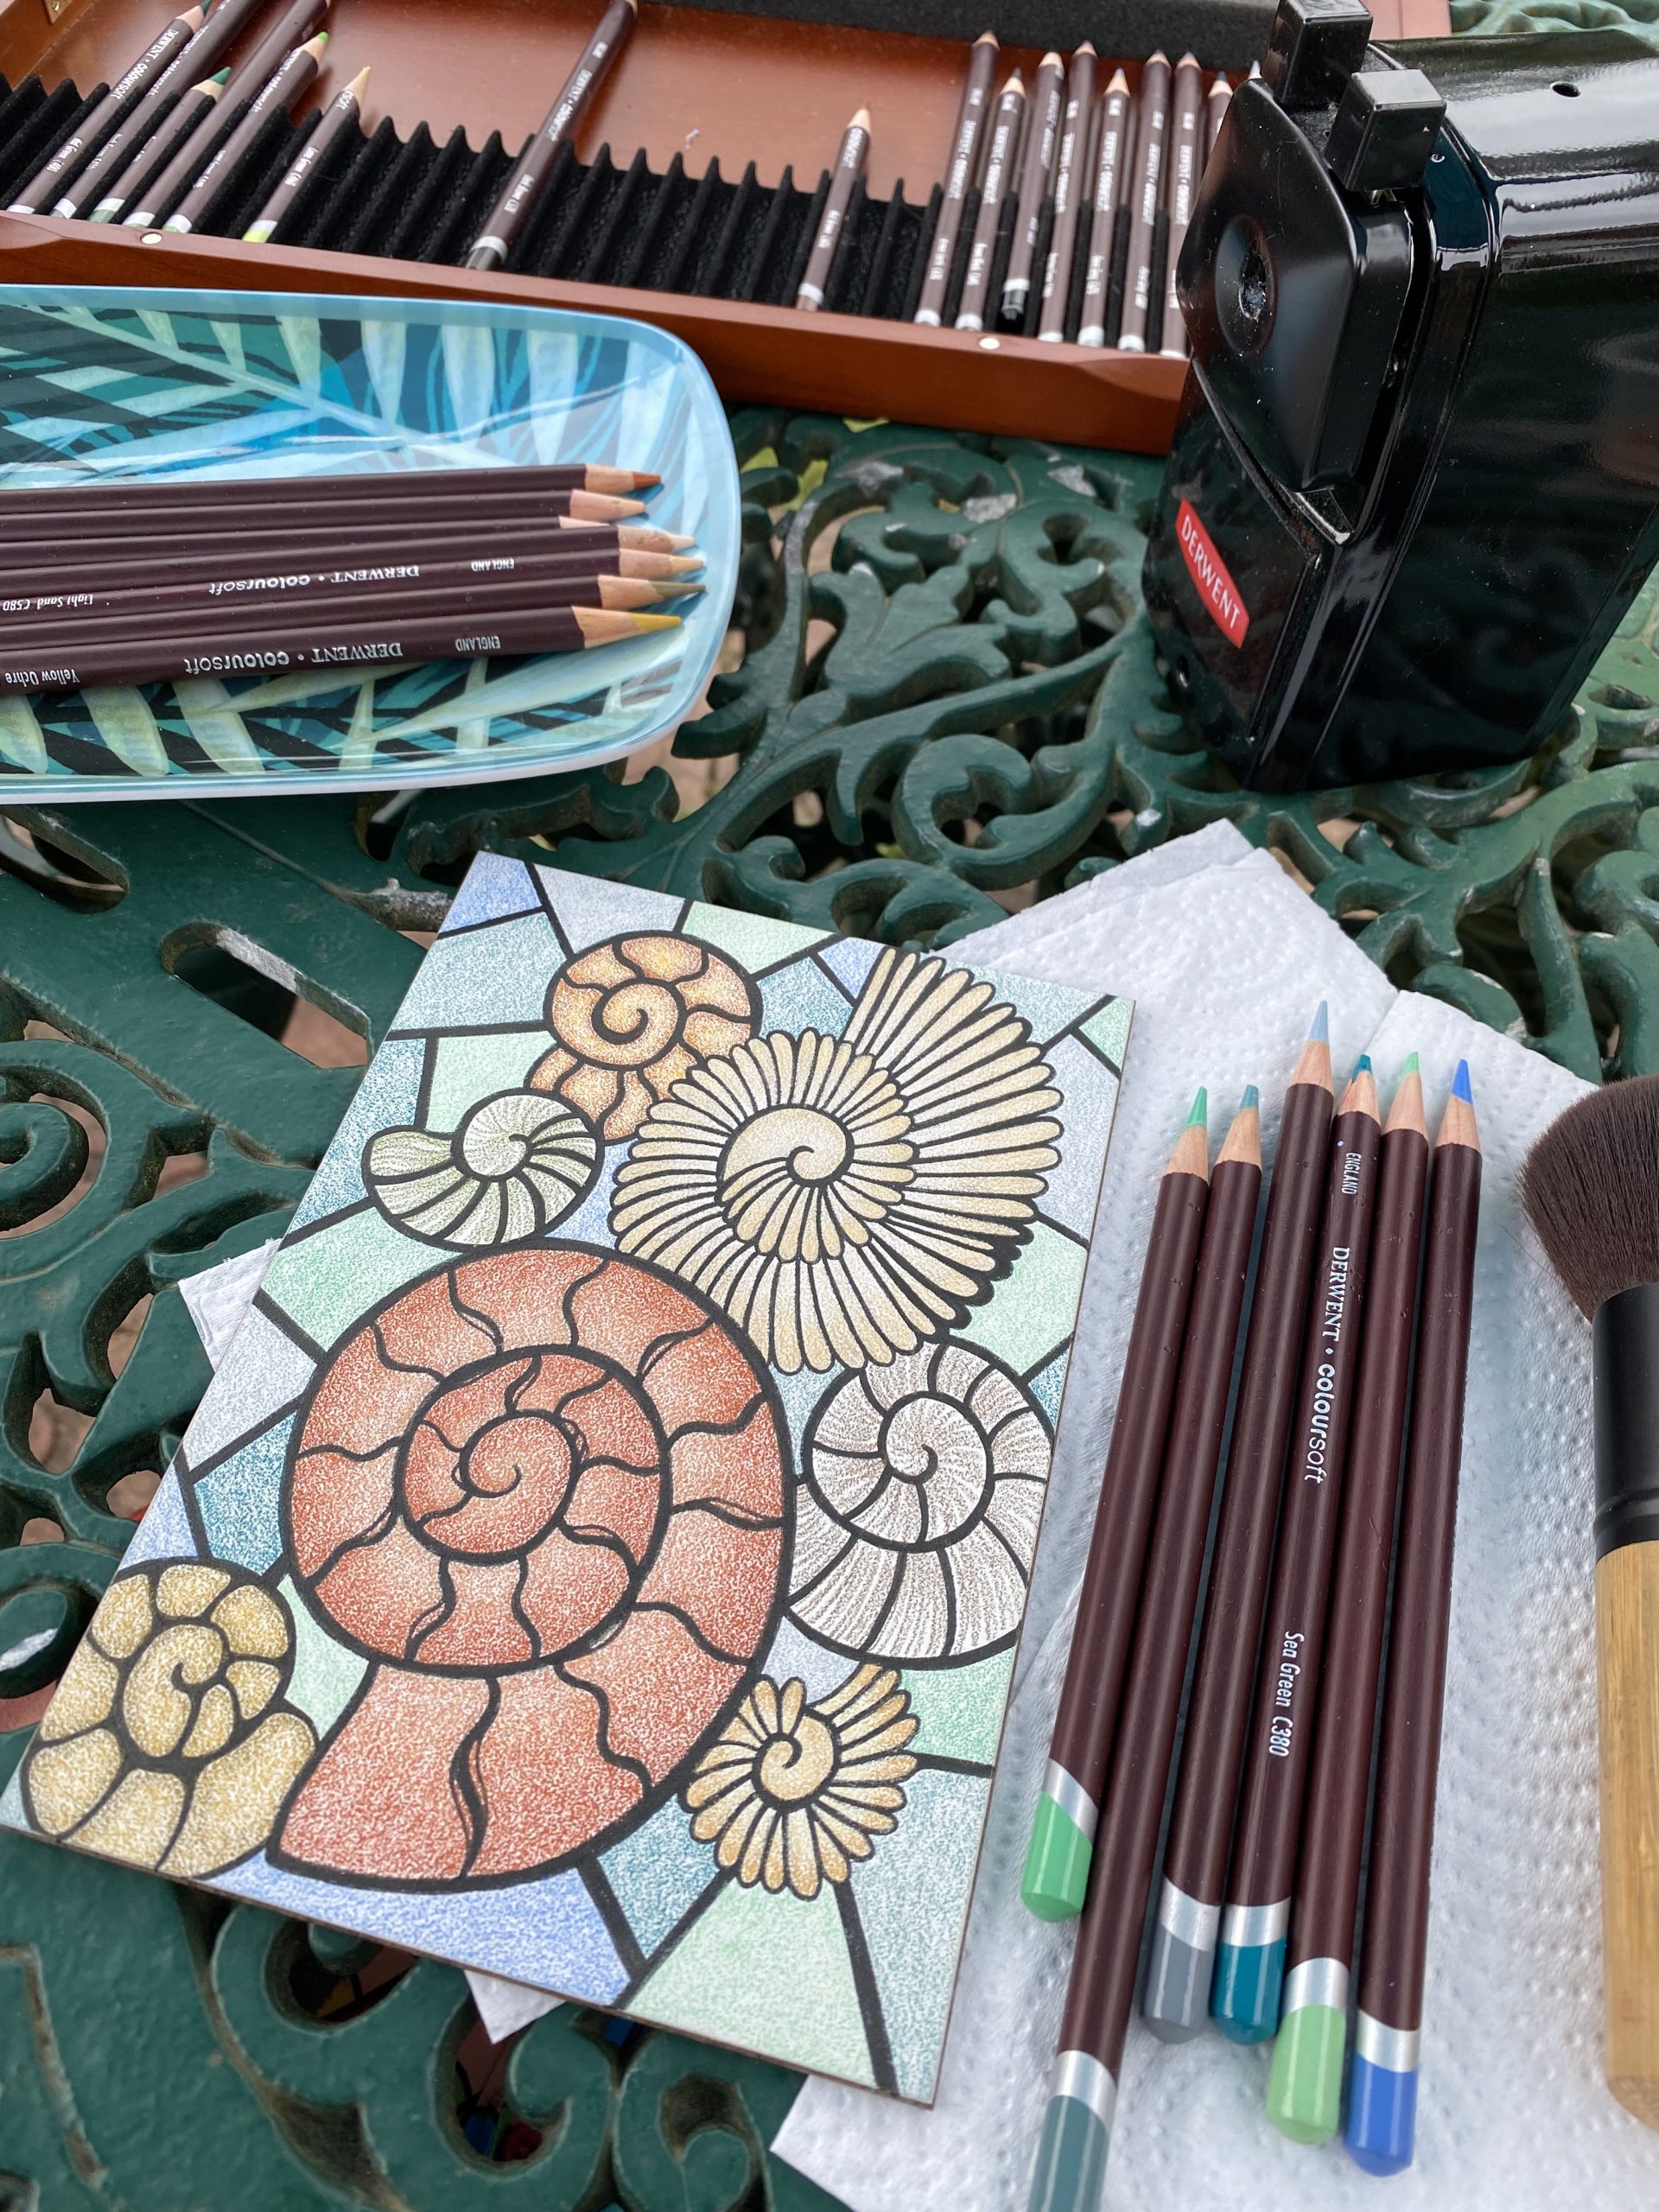
Step 9
Continuing on with the background ‘glass’ – the smooshing (burnishing) layers with the harder pencils (Derwent Artists).
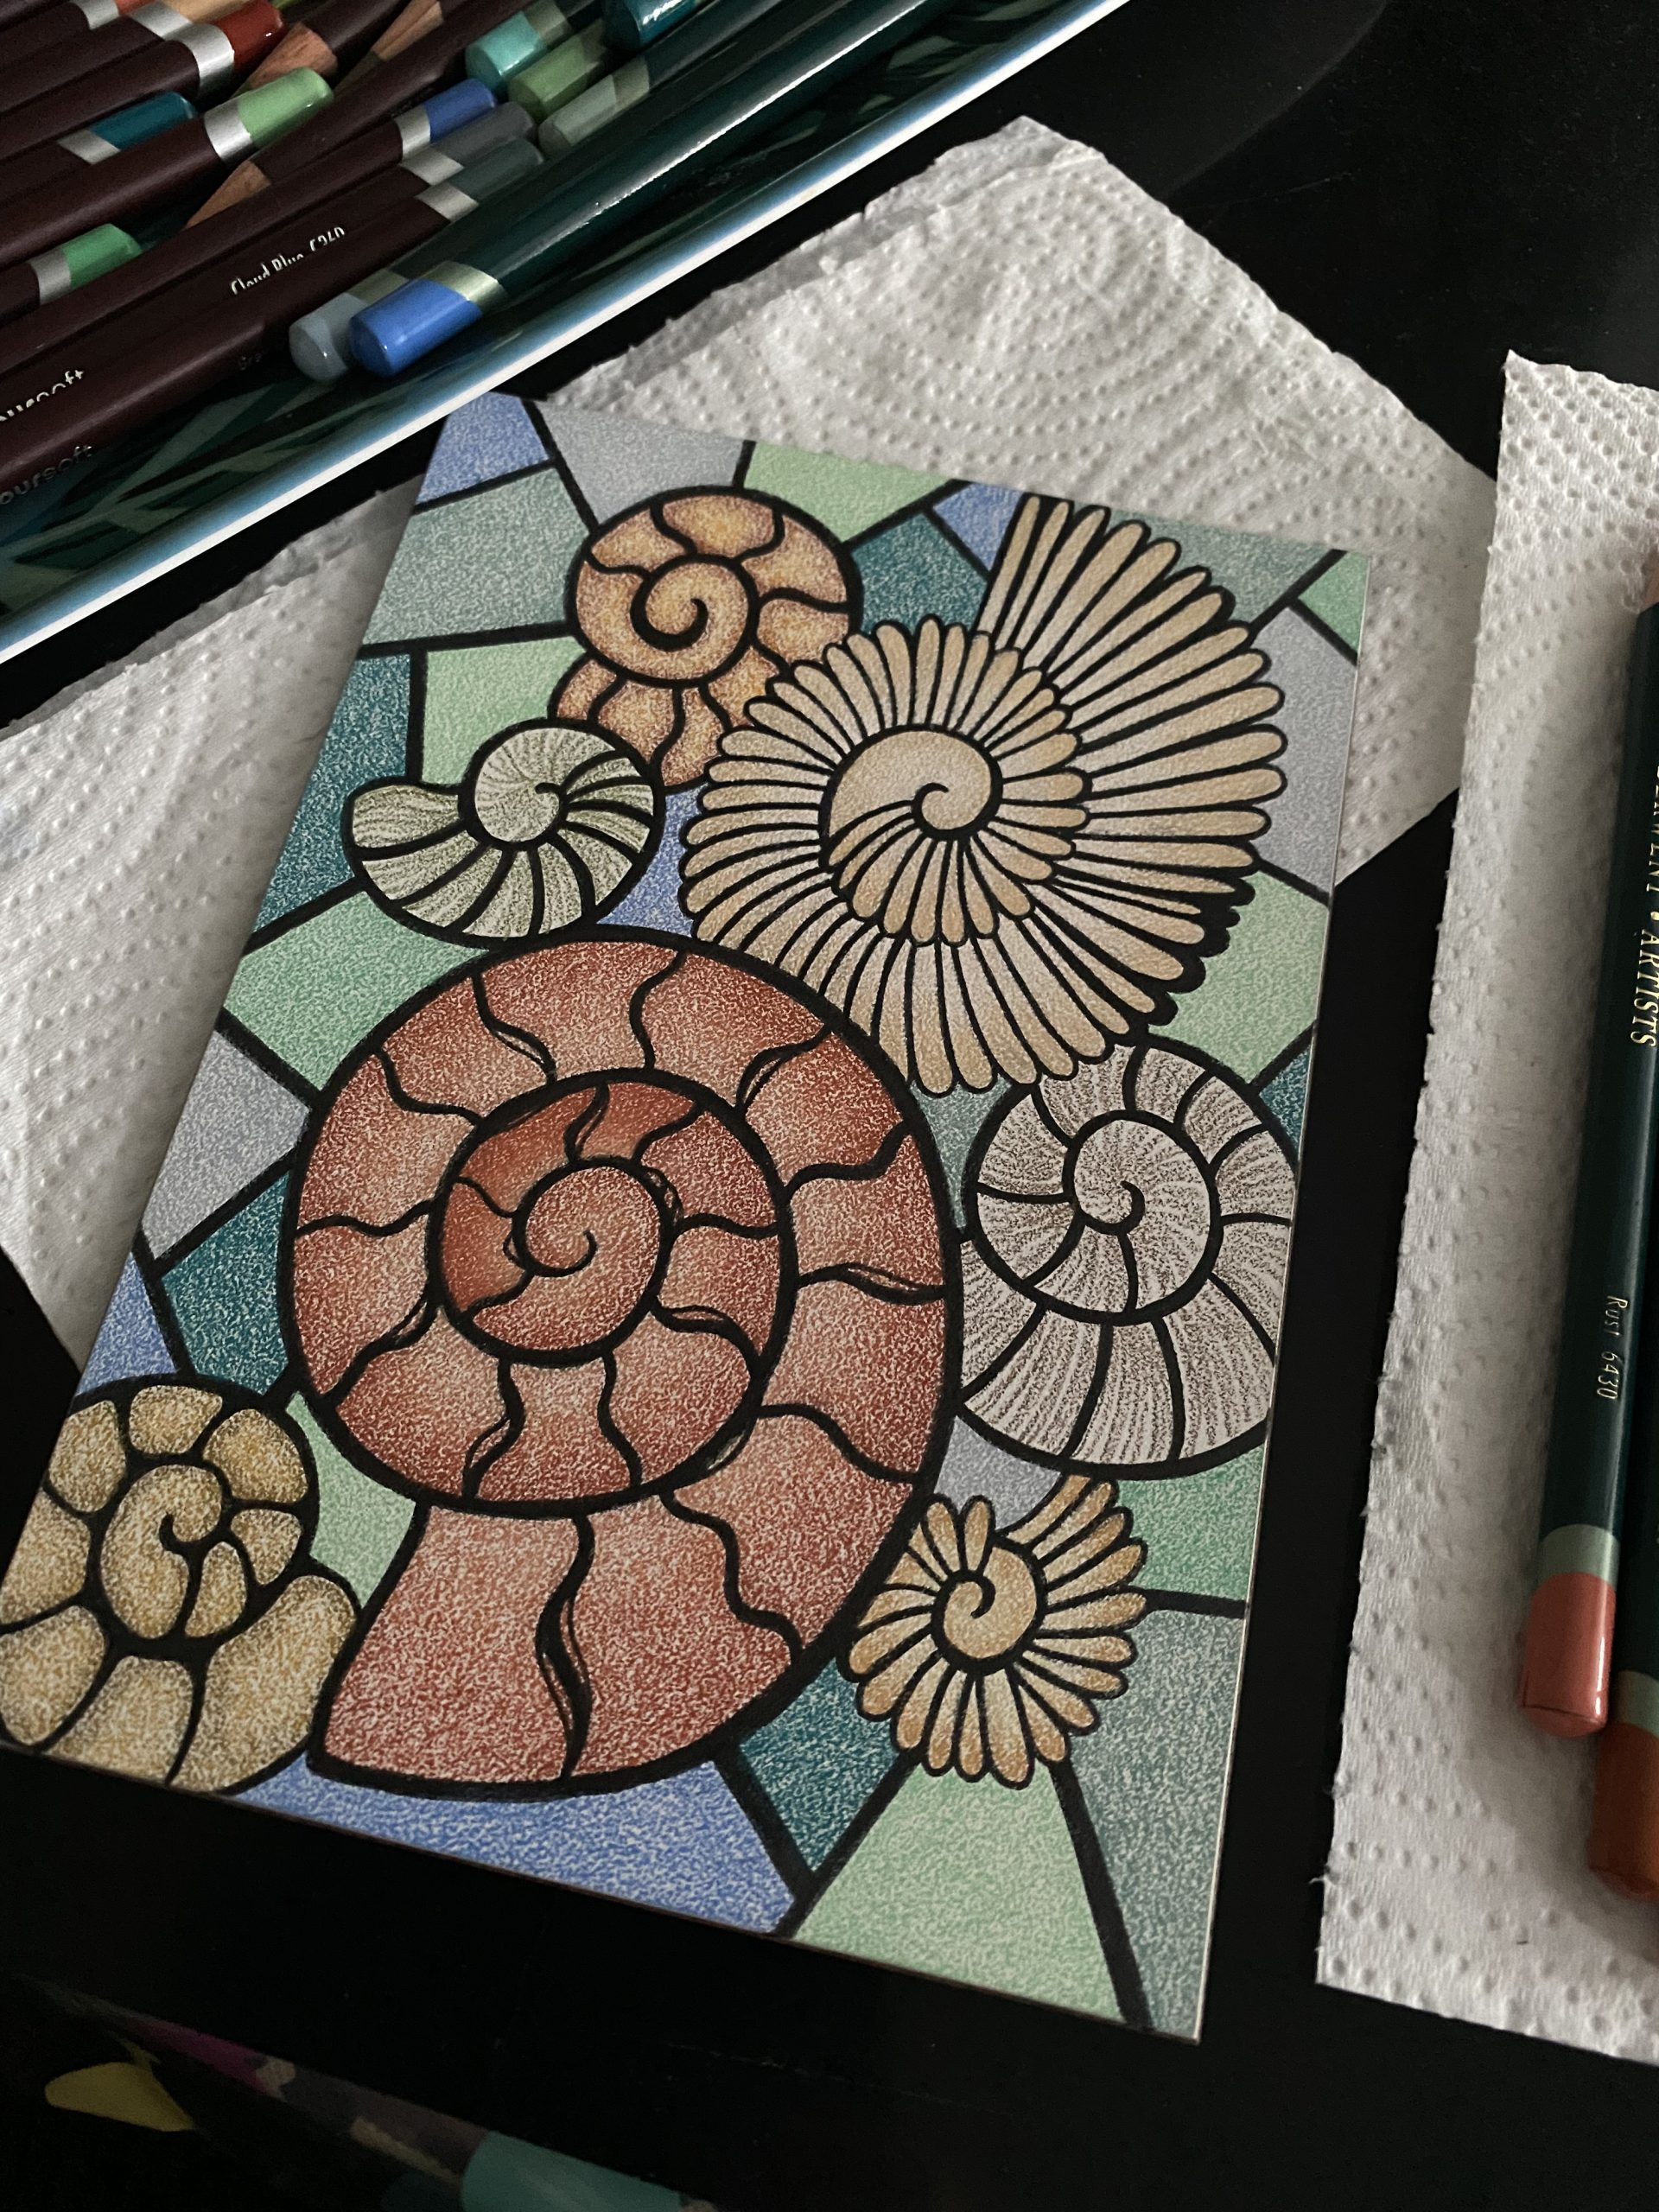
Step 10
And here we have it – the finished piece – ‘Ammonite Collecting’.
